The setup wizard
Having completed the installation wizard for the first time, the setup wizard is launched automatically. This wizard takes you through the basic setup required and then creates your first signature policy. To complete this wizard, follow the steps below:
-
The first stage of the setup wizard displays summary information about the process:
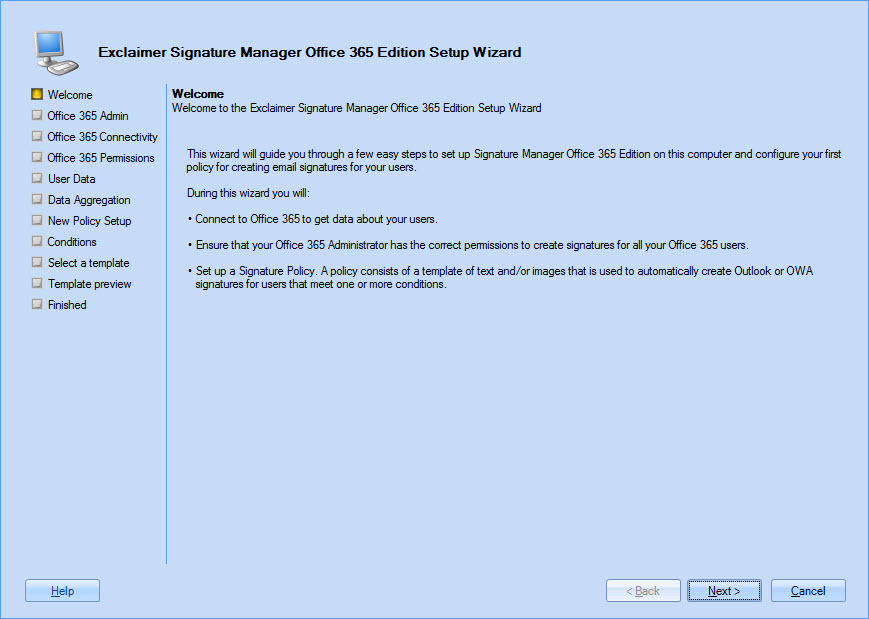
-
Click next to move to the next stage and enter administrator and connectivity details. The administrator account is used to access all Office 365 mailboxes and required user data - enter the appropriate account details here. Connectivity options tell the system where to find required Office 365 data; on a correctly configured system, this URL is easily found using autodiscover (a Microsoft technology):
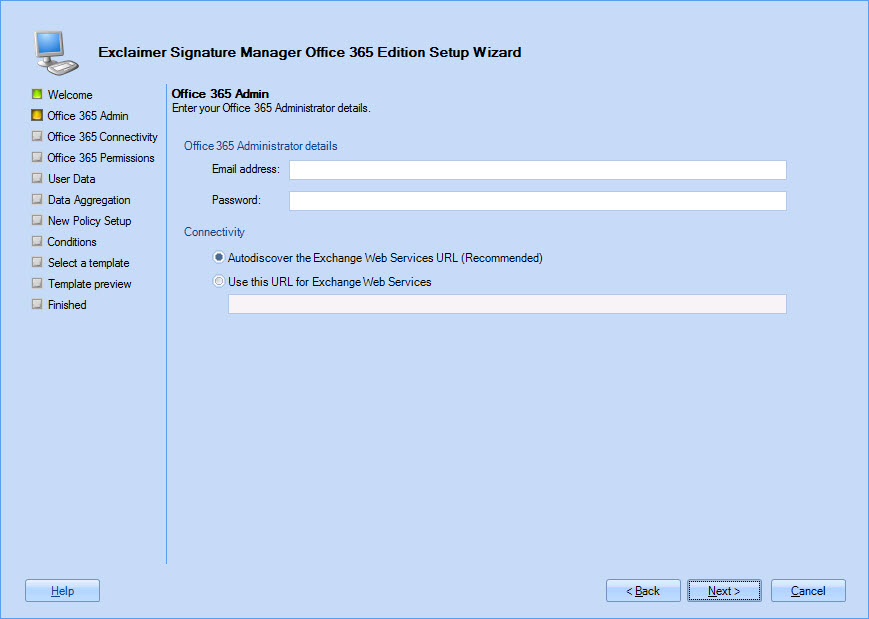
For further information about these options and to find out what the administrator account does, see: configuring the administrator account. -
Click next to connect to Office 365 using details provided:
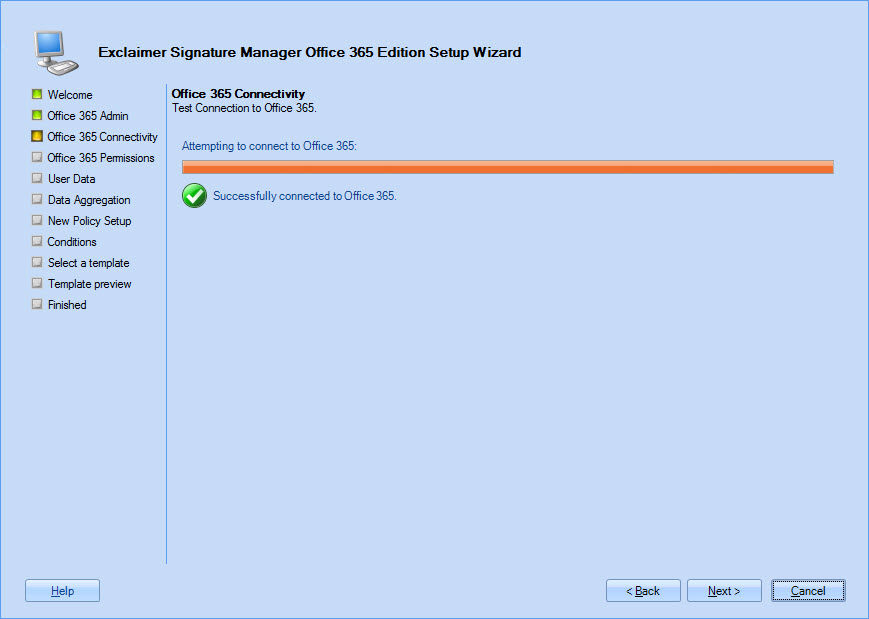
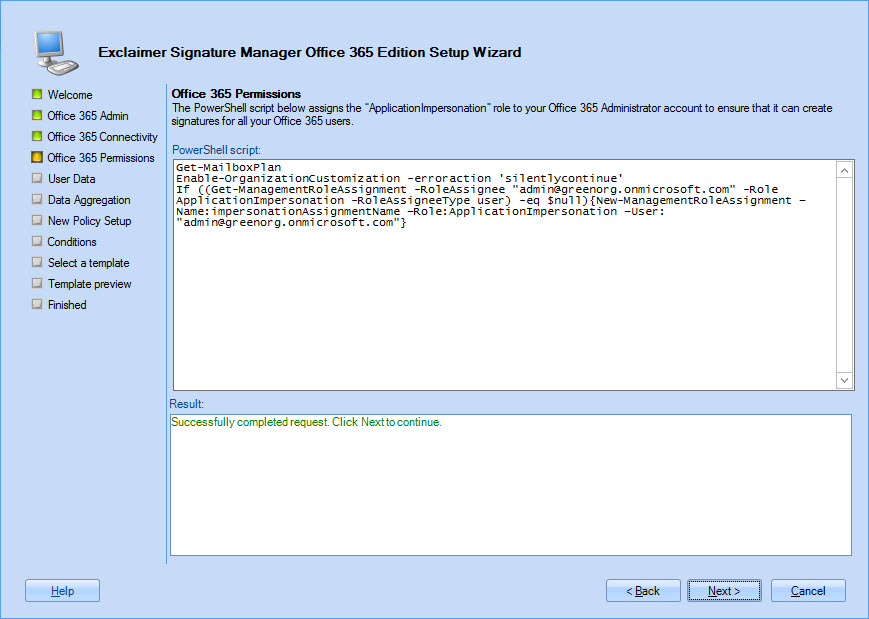
Having connected with credentials provided, a PowerShell script is prepared. This script grants required permissions for the administrator account (for further information see: configuring the administrator account). -
Click next to execute the script:
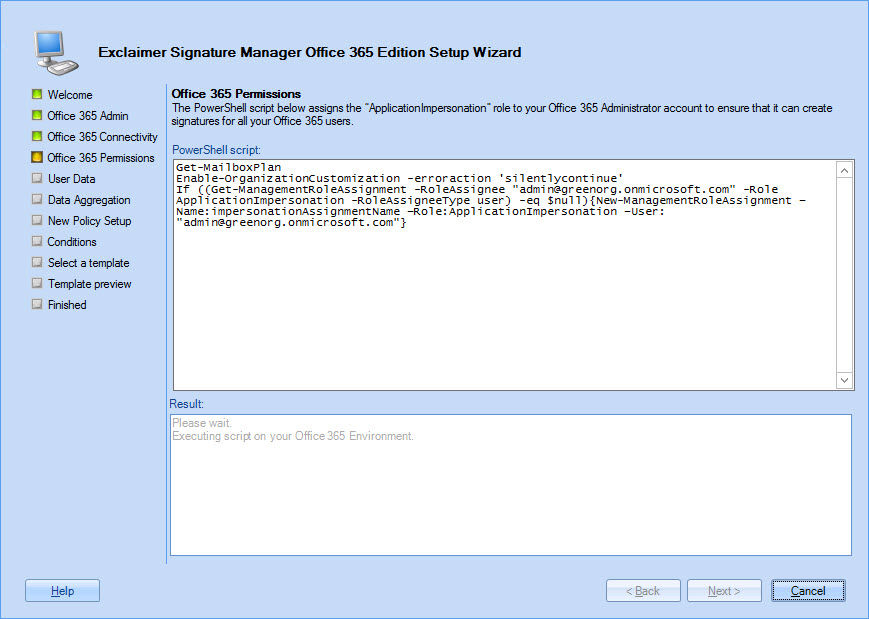
The script is run and confirmation is displayed upon completion:
-
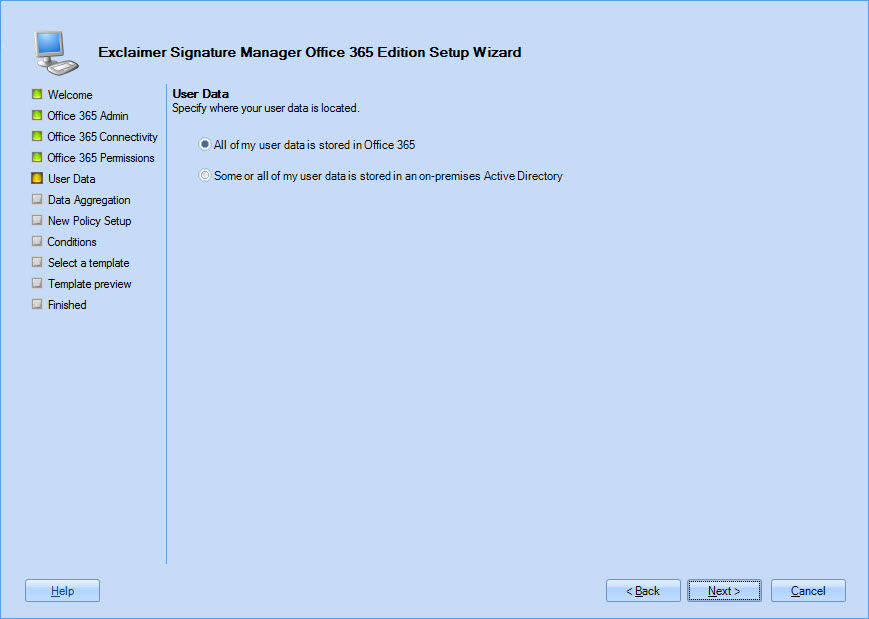
Click next to tell the system where to find user data. If all data for all users can be pulled from Office 365, select the first option. However, if you need to pull data from an On-Premises Active Directory for some (or all) users, select the second option:
-
If you chose the some or all of my data user data is stored in an On-Premises Active Directory option, you must define an Office 365 to AD mapping for each required Active Directory user (if you chose the all of my data is stored in Office 365 option this is not required - go straight to step 7).
First, Exclaimer Signature Manager Office 365 Edition attempts to connect to your Active Directory:
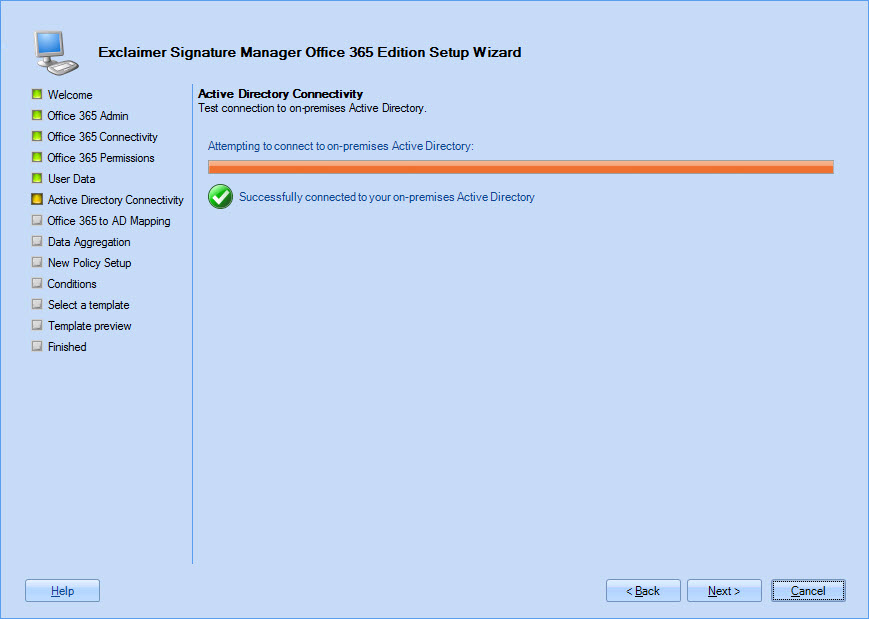
Typically, a connection will be made automatically. However, if you are installing Exclaimer Signature Manager Office 365 Edition on a 'workgroup' computer (i.e. a computer that is not connected to the On-Premises Active Directory) an Active Directory admin page is displayed (otherwise you go straight to defining mappings).
If an Active Directory admin page is displayed, you must enter credentials for a user that has permissions to access all user information in the On-Premises Active Directory (this is most likely to be a Domain Admin account).These settings should not be confused with the Office 365 Administrator account which collects all user information from Office 365 (defined in step 2).
-
Click next to start aggregating your data.
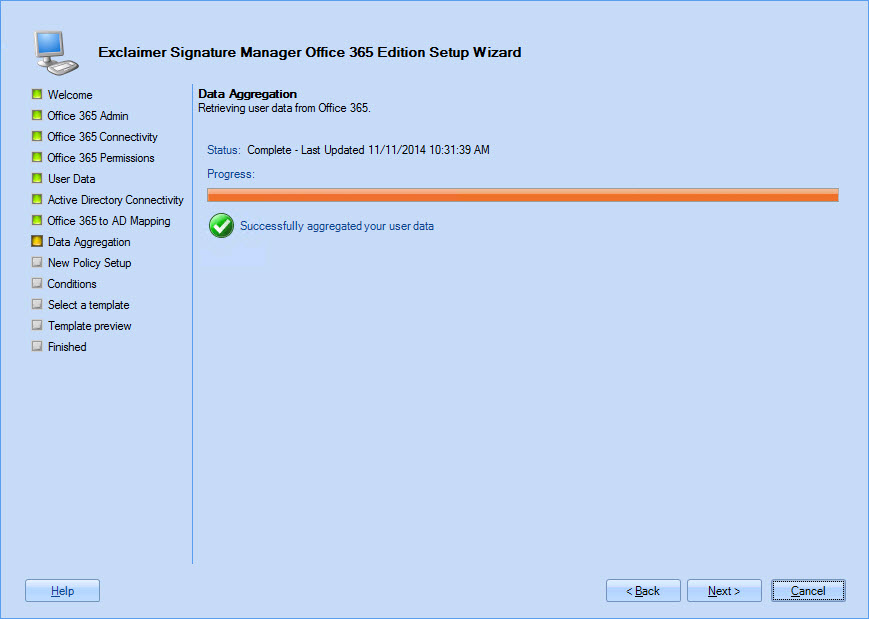
Data is pulled from Office 365 using the administrator account that you specified in step 2. Similarly, if you have chosen to use data from an On-Premises Active Directory for some or all users (step 5), the On-Premises Active Directory Administrator account (specified in step 6) is used to load information for mapped users from the On-Premises Active Directory:
-
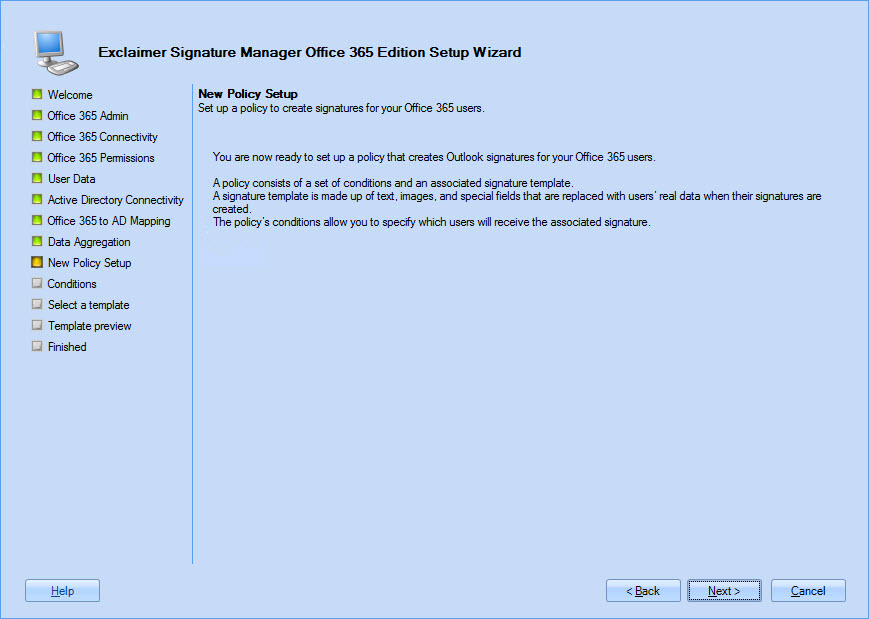
Click next to begin defining your first signature policy. A brief summary of this part of the wizard is displayed:
-
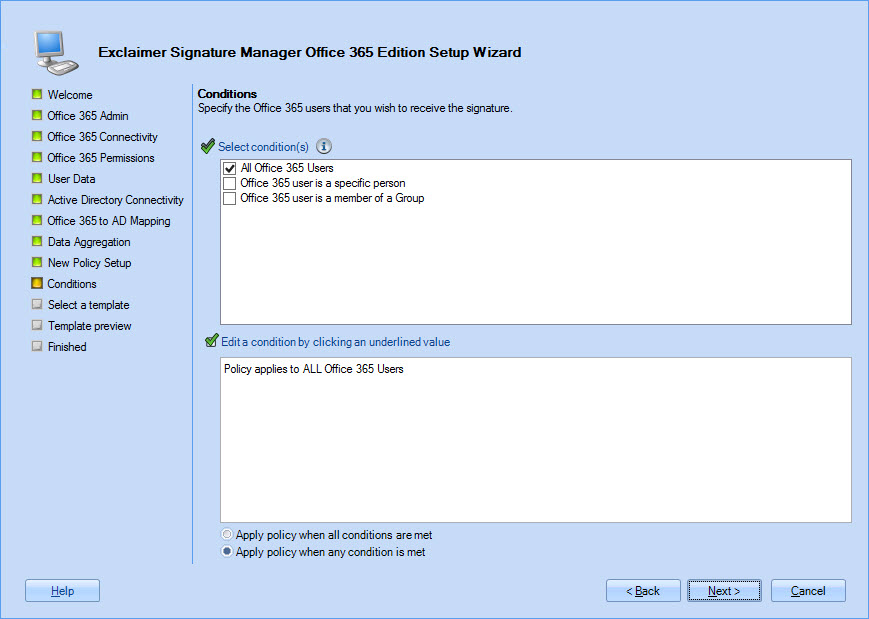
Click next to set conditions for your first policy. You can update this policy at any time after the installation, so if you are not sure what to set at this point, simply accept default conditions and continue:
-
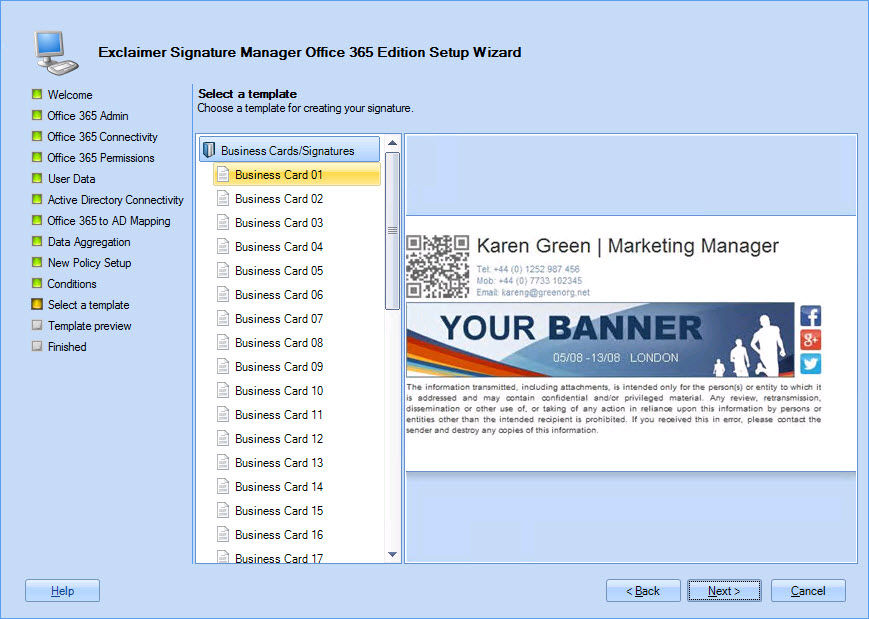
Click next to select a template to associate with your first policy. A number of standard templates are provided but you can update your selection at any time after the installation. If you are not sure what to select at this point, simply accept the default and continue:
-
Click next to preview the selected template and how it would be presented when a signature is generated:
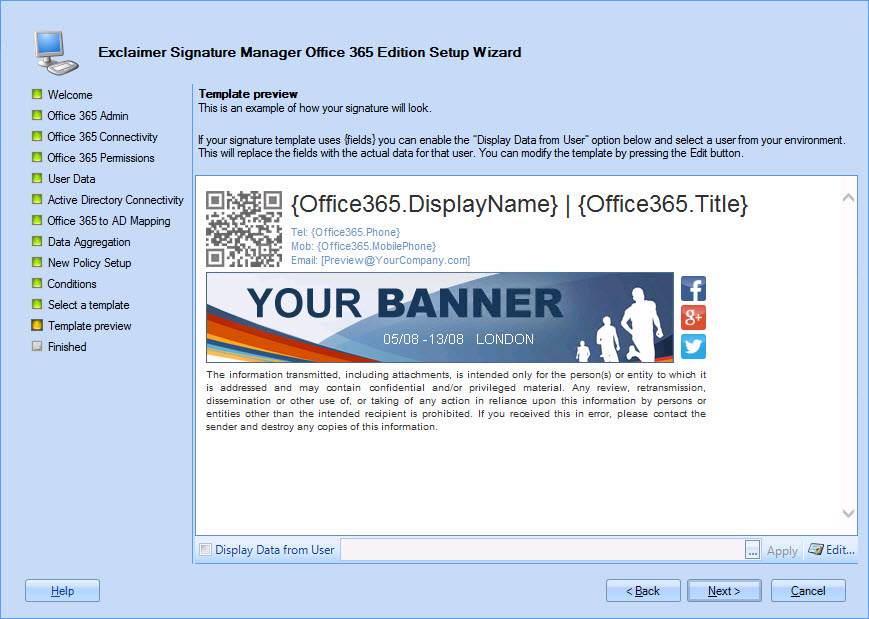
If the selected template contains fields, the preview might vary depending on which user is associated with the policy (as determined by conditions set in step 9). If required, you can select a specific user via the display data from user option at the bottom of the preview window. -
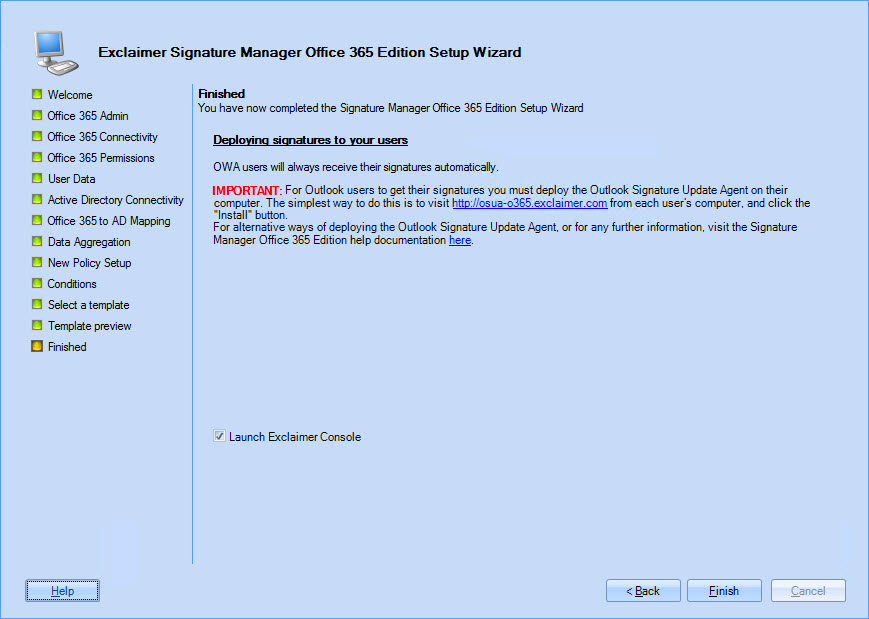
Click next to review the installation:
-
Click finish to exit and launch Exclaimer Signature Manager Office 365 Edition. Exclaimer Signature Manager Office 365 Edition is now ready to update signatures for OWA as soon as you add OWA policies with required signature content. To add signatures to Microsoft Outlook for users, the Outlook Signature Update Agent must be installed on client PCs.
When a connection is successfully established, click next to access the Office 365 to AD mapping page (if an Active Directory cannot be found, you will be asked to provide access credentials):
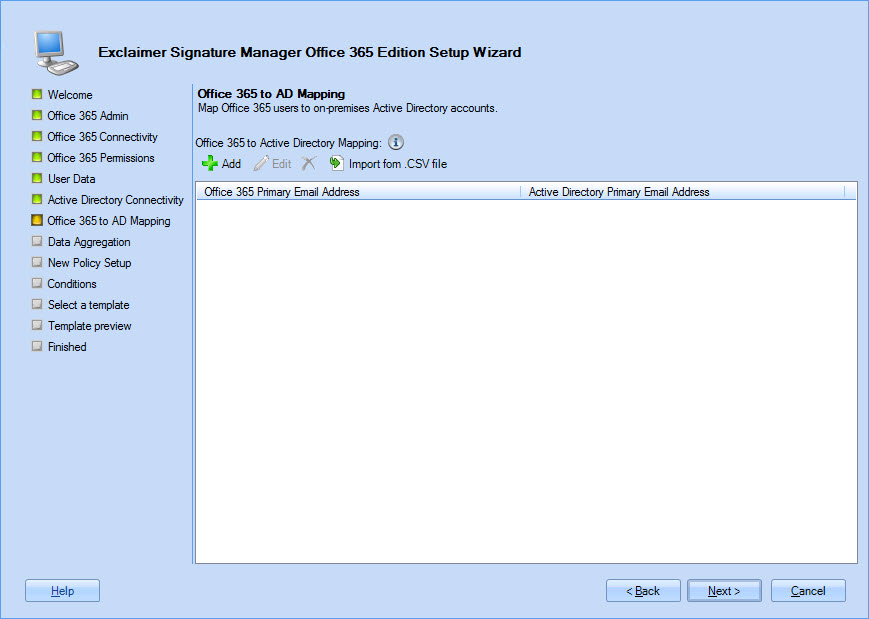
To generate signature content, Exclaimer Signature Manager Office 365 Edition pulls user data (name, telephone number, address, organizational information, etc.) from Office 365. However, if user data for your organization is maintained in an On-Premises Active Directory rather than Office 365, you can define Office 365 to Active Directory mappings. You can do this for all users (in which case the import option may well be the best approach), or for specific users (using the add option). For further information about these mappings, see: Signature Manager Office 365 Edition advanced options.
|
When a mapping is defined, Exclaimer Signature Manager Office 365 Edition will always pull data from the On-Premises Active Directory for these users - data is never pulled from Office 365 for mapped users. |


