Installing the server-side transport agent and console
The installation process for the server-side transport agent and the Exclaimer Email Alias Manager for Exchange console is completed using a familiar 'wizard' approach to guide you through each process, step-by-step. This process includes a license agreement and copies files to your preferred destination folder. Once complete, you must either register for a 30 day trial or select the apply licence option if you have already purchased the product and received a product key.
To install the server-side transport agent and Exclaimer Email Alias Manager for Exchange console, follow the steps below:
-
If you are updating an existing version of the software, ensure that the previous version has been uninstalled.
-
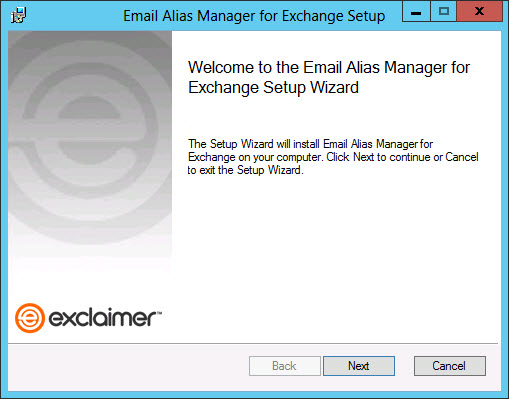
Double click the installer file to start the Email Alias Manager setup wizard at the welcome page:
-
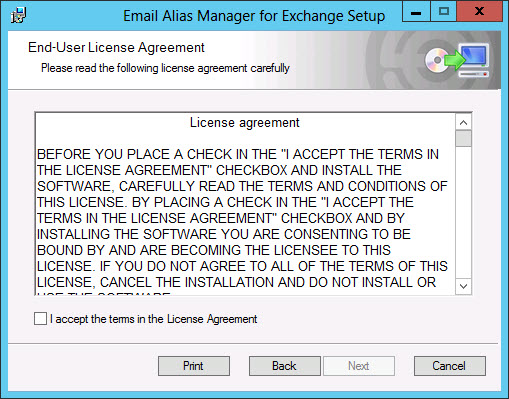
Click next to view the end-user license agreement:
-
Having read the license agreement, check the I accept the terms in the license agreement box and click next to specify a destination folder for installed files:
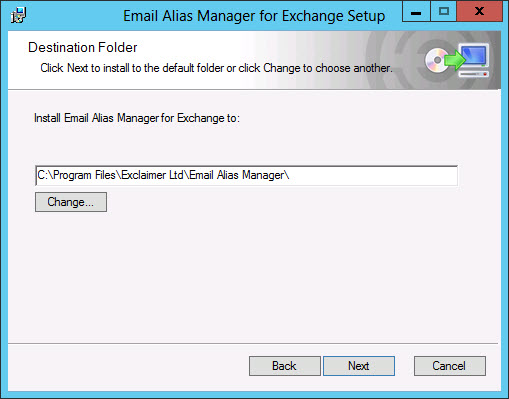
From here you can accept the default folder, or click change to specify a new location. -
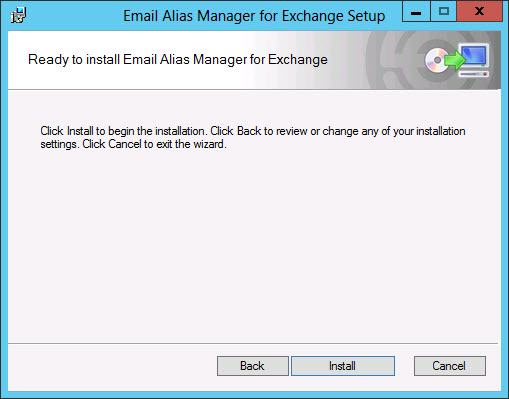
Click next to review:
-
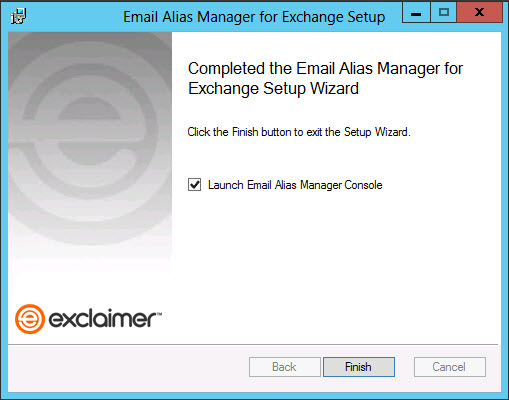
Click the install button to perform the installation. Progress is displayed on screen and final confirmation is shown upon completion:
-
Click finish to display the product splash screen and then continue to launch the Exclaimer Email Alias Manager for Exchange console. To use the product you must either register for a 30 day trial or select the apply licence option if you have already purchased the product and received a product key.
-
If you have applied a limited-user license, you can add or import users (via the user management tab in the console). However, if you have registered for a trial or applied a full license, all users are processed by default, therefore user management options are not required.
-
Once the product is installed, you should ensure that the Outlook add-in is installed on any required client PCs.
As part of this installation process, x64 and x86 versions of the Outlook add-in installer are placed in a local folder named C:\Program Files\Exclaimer Ltd\Email Alias Manager (or in your chosen installation folder). You can copy these files to client machines to install the Outlook add-in. Note that on any client machines with a 64-bit operating system running 32-bit Office, the 64-bit installer must be run.


