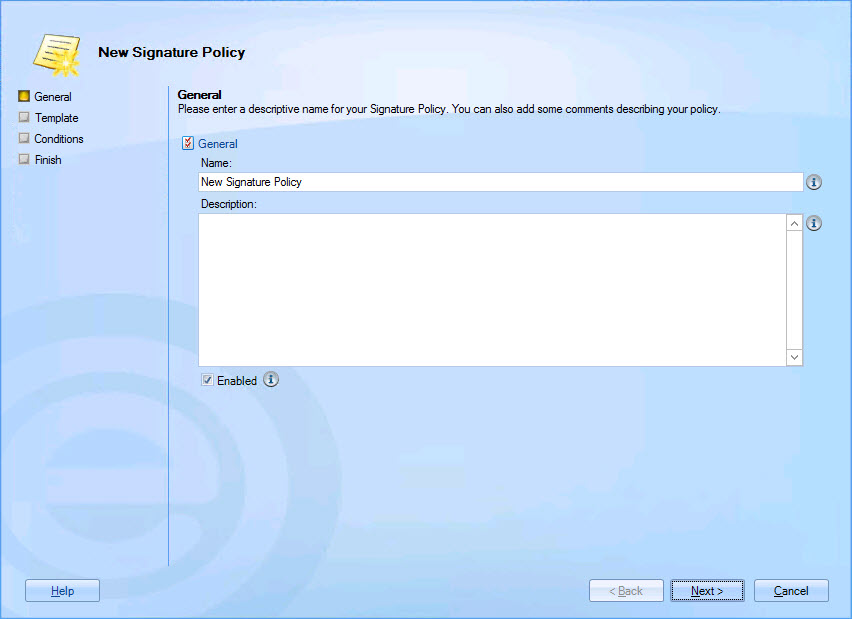
The add policy wizard
Policies are added using the new signature policy wizard - a series of screens which guide you through the setup process one step at a time. The new signature policy wizard is available from different areas of Exclaimer Signature Manager Exchange Edition - it can be accessed from the console tree, from the console toolbar and from the actions pane.
Step 1: Enter general information
Enter a meaningful name and description for the policy and click next to continue. For further information about this tab see the anatomy of a policy - general page of this help.
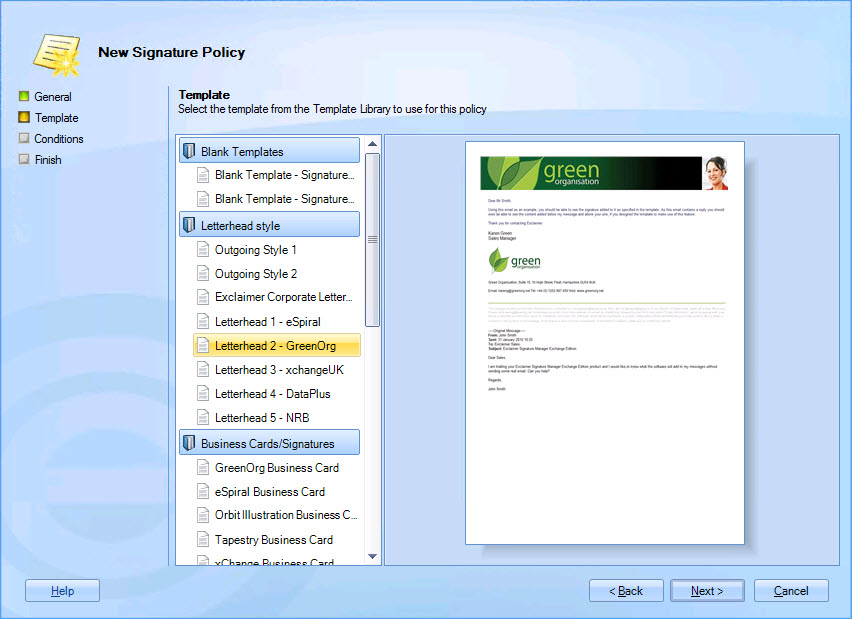
Step 2: Associate the policy with a template
A list of available templates is displayed down the left-hand side. Navigate this list and select the template to be associated with this policy, then click next to continue. For further information about this tab see the anatomy of a policy - template page of this help:
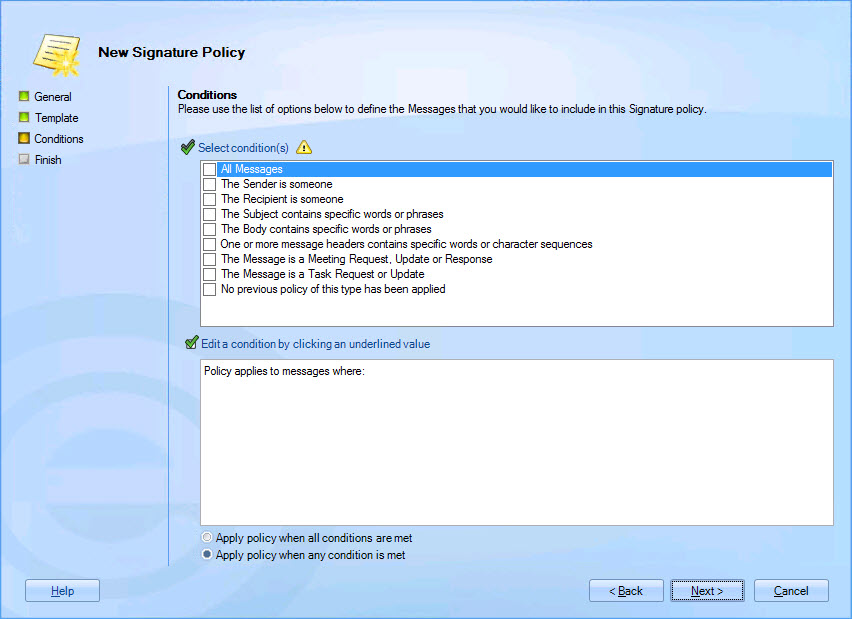
Step 3: Set conditions for the policy
Set criteria to determine the circumstances under which the signature is applied to messages, then click next to continue. Having created the policy, you can update the conditions at any time, and also add exceptions. For further information about this tab see the anatomy of a policy - conditions page of this help:
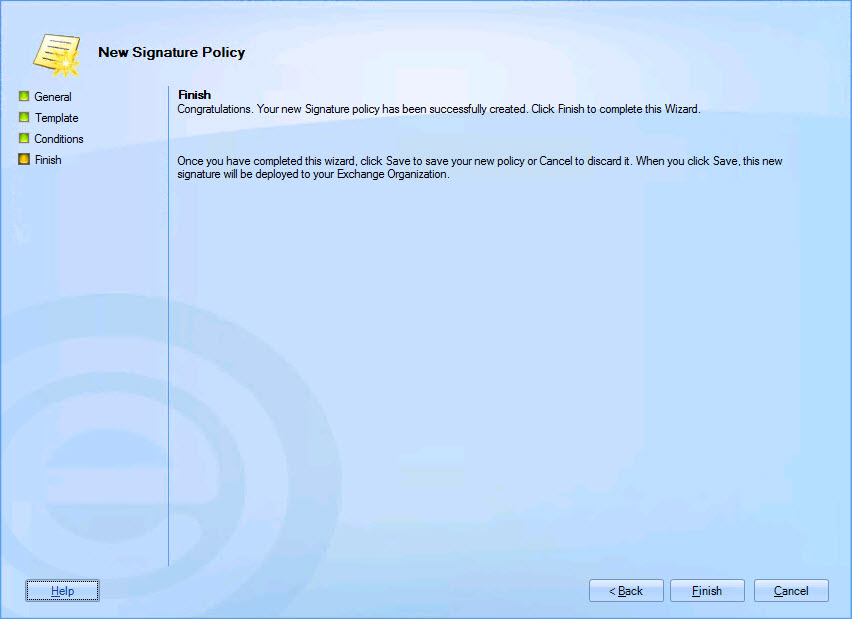
Step 4: Finish up
Click finish to exit the wizard and return to the Exclaimer console:
Step 5: Save changes
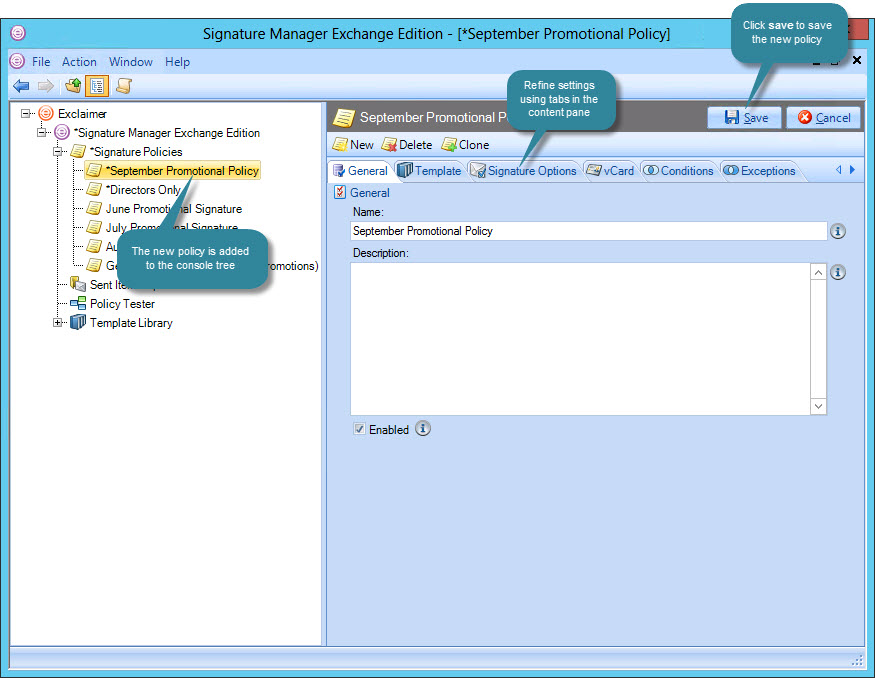
Having exited from the add new policy wizard,
the new policy is added to the list of signatures in the console tree,
but it is not yet saved (unsaved entries are displayed with an asterisk
(*) to the left of the name). Click save to
save changes. From here you can use selection
tabs to update settings for the policy, and choose to enable/disable
the policy (if a policy is not enabled it will not be processed):