Adding a New Store
To add a new store, follow the steps below:
-
Select the storage branch of the console tree. All existing stores are displayed in the stores tab.
-
Select the new option from the toolbar to launch the new archive store wizard at the welcome page:
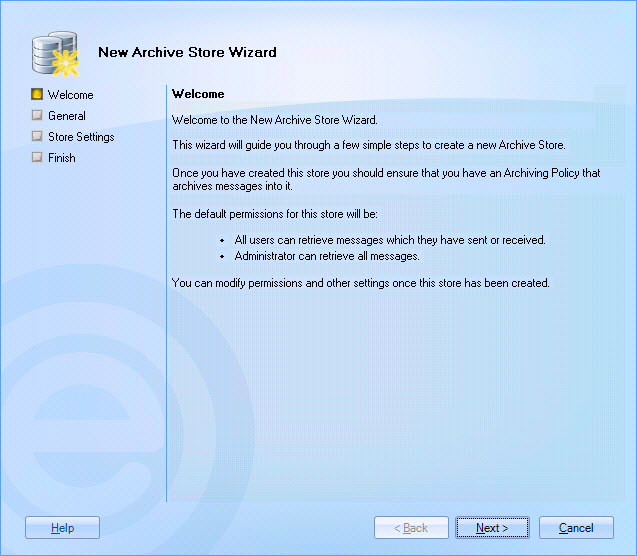
The default permissions for a new store are:- All users have access to their own email in the store.
- The user that is creating the store has access to all email in the store.
Alternatively, you can select the new archive store option from the actions pane to launch the new archive store wizard.
-
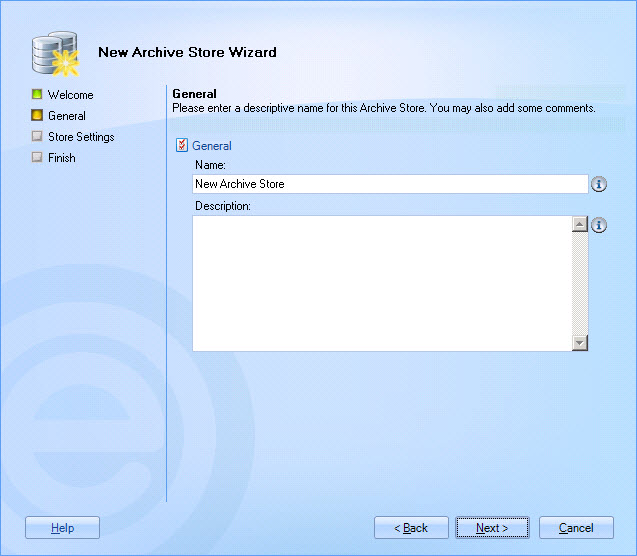
Click next to define general settings for the store, where the store name and any required descriptive information can be entered. Each store must have a unique name. The name entered here is displayed in the Exclaimer console tree, and in the stores list. The description can be used to add any useful information for the store - for example, usage notes, version history, background or explanatory information:
-
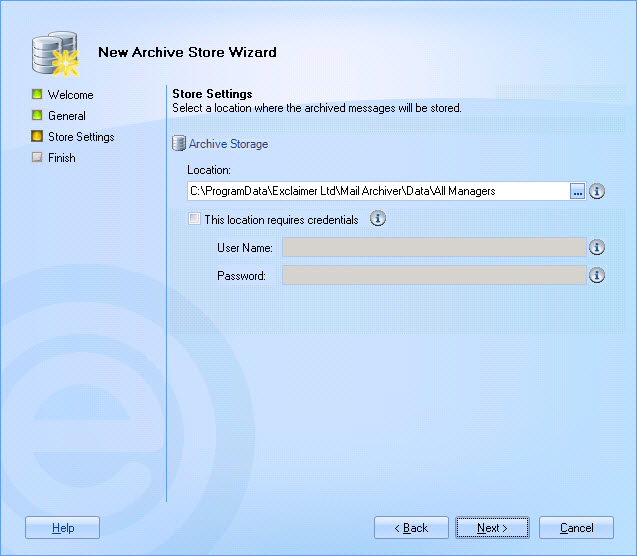
Enter the required name and descriptive information, then click next to define store settings:
-
Use the [...] button to open the browse for folder window and select a location for the new store. The default location is a data folder within your Exclaimer Mail Archiver configuration folder structure; from here you can either create a new sub folder for the store, or browse to a completely different location if required:

-
Having selected (or created) a location, click OK to exit back to the store settings page. If the selected location does not yet contain a store, the location field will be displayed with a warning symbol.
-
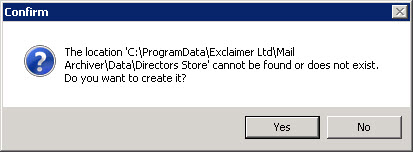
Click next to continue. A prompt is displayed, advising that the specified store does not exist and asking if it should be created:
-
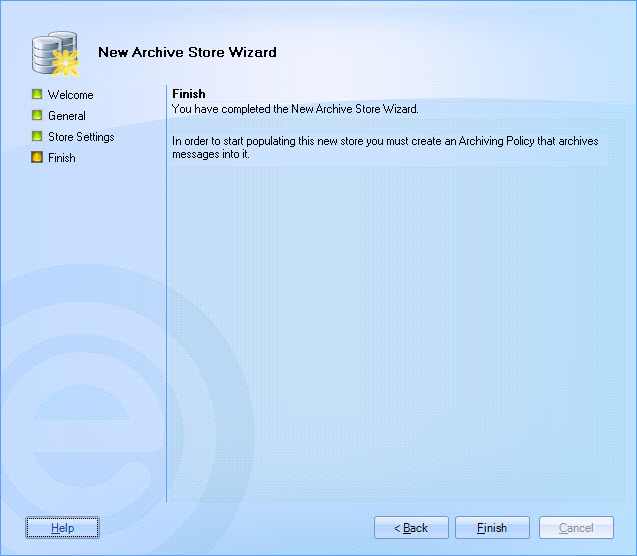
Click yes to create the store and exit back to the finish page for the new archive store wizard:
-
Click finish to exit back to the Exclaimer console. The new store is added to the console tree and is available for use when defining archiving policies. However, before using the store it is advisable to review data settings, availability settings and security settings.
-
Click save at the top of the console window to save changes.


