How do I insert a web style banner ad that alternates daily?
There may be times where you wish to include a banner ad in signatures (i.e. a banner image which, when clicked by the recipient, links to a web page) but where the image and its associated hyperlink should change on a daily basis. In this instance, you need to control which offers are displayed on particular days of the week, for an indefinite period of time.
To achieve this, you need to create one signature policy (and an associated template) for each day of the week. Each template will contain the required image and hyperlink, together with required signature details (name, telephone number, etc.). Then, each policy will be set to run on a given day. This process is summarized in two stages, below:
|
If you are running a promotion where a different image is required on a daily basis but each image must link to the same web page then you may wish to consider a different approach - please see How do I add an image that alternates daily?. You can also create more complex banner adverts in an external HTML editor and choose to rotate HTML files rather than images. For further information please see Multi-link HTML ads. |
Stage 1: Add required banner image to templates
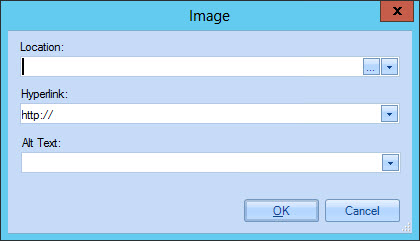
Create or edit the required number of templates and insert a custom image field. When you choose to add a custom image, the image window is displayed, so you can associate the image with hyperlink details:

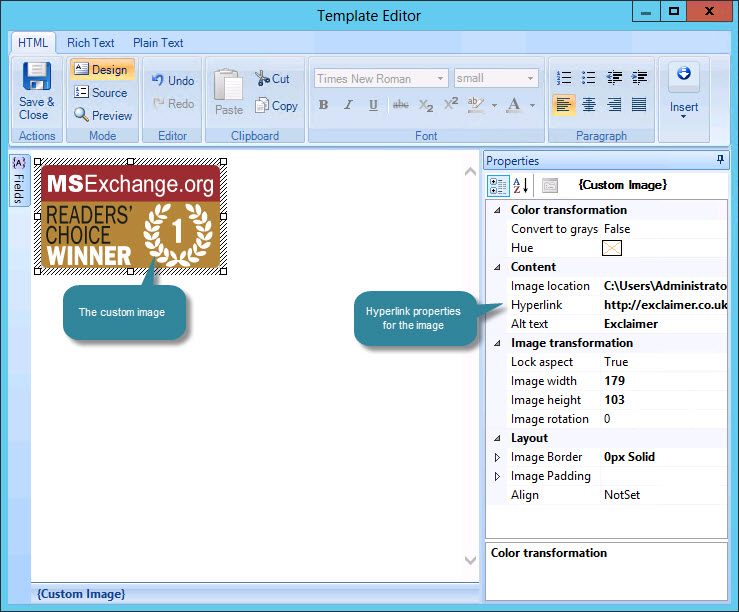
Once inserted, you can select the image and view/update these properties as shown below:

Key properties are summarized below:
|
Property |
Summary |
|
Hyperlink |
Specify the full URL of the web page to be opened when recipients click the banner image in their message. |
|
Alt Text |
Specify text to be displayed if images cannot be displayed in messages (for example, if a recipient has chosen to block images in email messages). |
|
Image Location |
Displays the location of the inserted image. |
You should create one template for each day of the week. As such, you are strongly advised to use meaningful names for the templates - for example 'Monday Product Offer', 'Tuesday Product Offer', etc.
Stage 2: Define Outlook signature policies
-
Select the Outlook signature policies branch in the console tree.
-
Click the new button from the toolbar to start the new Outlook signature policy wizard.
-
On the general window, specify a meaningful name for the policy - for example 'Monday Product Offer'.
Your policy must have a valid name. A valid policy name must be unique and not blank. You should try to make your policy names as descriptive as possible because they are used to uniquely identify the policy in a number of areas. You can also use the policy description to record comments and notes about a policy (such as what it does and under what conditions it triggers). We highly recommend that you use this field to keep a record of changes to a policy over time.
-
Click next to progress with the wizard and choose a template. Select the required template that was created in stage 1 - for example, if you are creating a policy to be run on Mondays, you would select the template which contains relevant content for Mondays.
-
Click next to see a preview of how the selected template will appear in email messages.
-
Click next to continue and set conditions under which this policy will be applied. In this case we want the signature to be applied to all users therefore select the All Office 365 users option.
-
Click finish to complete the wizard and return to the Exclaimer console. The new policy is selected and its content tabs are displayed.
-
Select the date range tab.
-
Select the use advanced schedule option and then click add to add a new schedule (for further information about these options please see the using the advanced schedule topic).
-
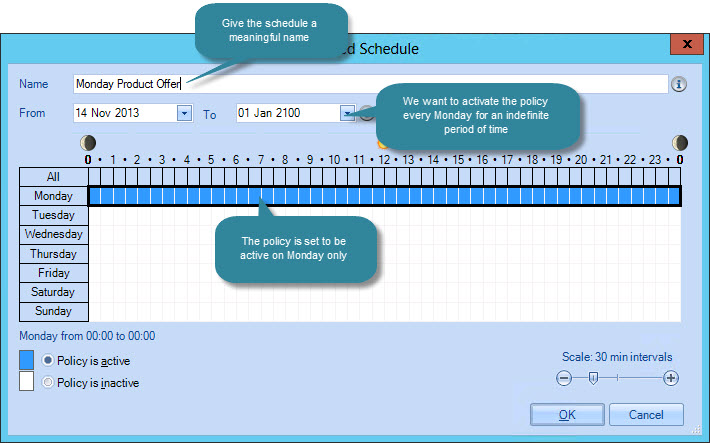
Define the schedule for the required day of the week - for example, Monday:

-
Save changes.
-
Once you have saved changes, the policy is ready for use. It is a good idea to test the policy in the policy tester to ensure that it works as expected.
By default, the new signature policy is set up for Microsoft Outlook. If you wish to change it for OWA, access the options tab and change the deploy signature to option to OWA.
-
Repeat this process for each day of the week.
For more detailed information about adding policies, see the adding a new Outlook signature policy topic.


