Adding a new template
The new template option is available from different areas of the template library - it can be accessed from the console tree, from the library toolbar and from the actions pane:

To add a new template:
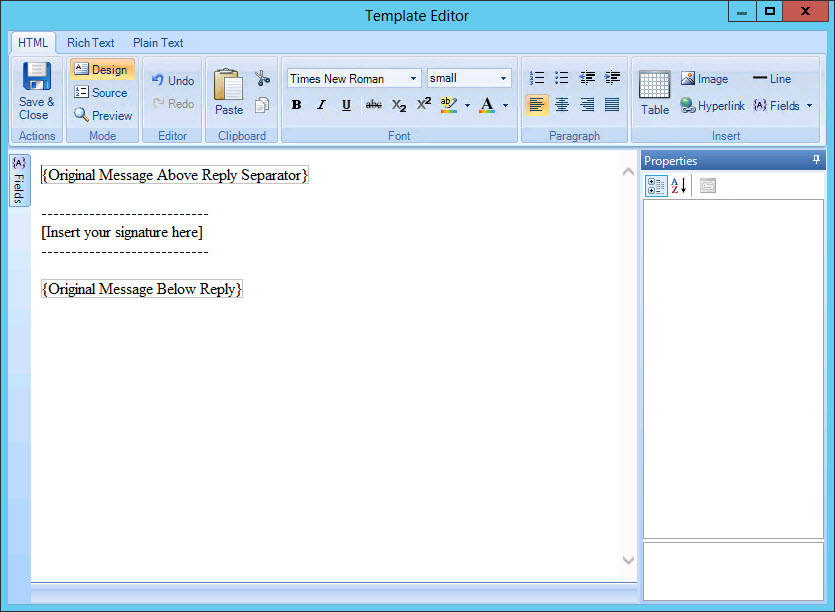
- Select the new template option to open a blank template
in the template
editor:

At this stage, the new template is added to the template library with a template name. This name varies, depending on where the new template option was selected. If you added the template from a category, the temporary name will reflect the category name. If you started from the top level template library branch of the tree, the template is automatically assigned to the first category and is assigned a name to reflect that category.
-
Position and format the original message fields so that the signature is inserted in the required position, and original message content is formatted as required.
The way in which original message fields are formatted controls the formatting of the original message. For example, the font type, color, size, etc. applied to the fields will be reflected in email messages. So (for instance) if you want original messages to be formatted in Arial font, you would select these fields and apply the Arial font.
-
Create your template with required text and formatting; taking care to place the original message fields correctly so that the signature is inserted in the required position.
Remember that you can use tables, images, dynamic fields and properties when creating templates. Please refer to the template editor section of this help for detailed information about editor options.
-
Switch between HTML, RTF and Plain Text tabs to create the template in each format.
-
Click save and close (from the editor toolbar) to return to the template library. If you have not updated all format tabs (HTML, RTF and Plain Text), warnings are displayed. You must enter content for all formats before you can save the template.
-
If required, rename the new template.
-
Click the main save button to save changes made in this session. Alternatively, use the cancel button to abandon all changes.


