Adding an add recipients policy
To add an add recipients policy, follow the steps below:
-
Select the Auto Responder policies branch of the console tree.
-
Select the new policy option from the actions pane to launch the new Auto Responder policy wizard at the welcome page.
The new policy option is also available using the right-click menu or from the toolbar. Alternatively, you can use the new policy scenarios section of the actions pane to select a specific policy type. If you start with a specific scenario, the welcome page is not displayed - go straight to step 5.
-
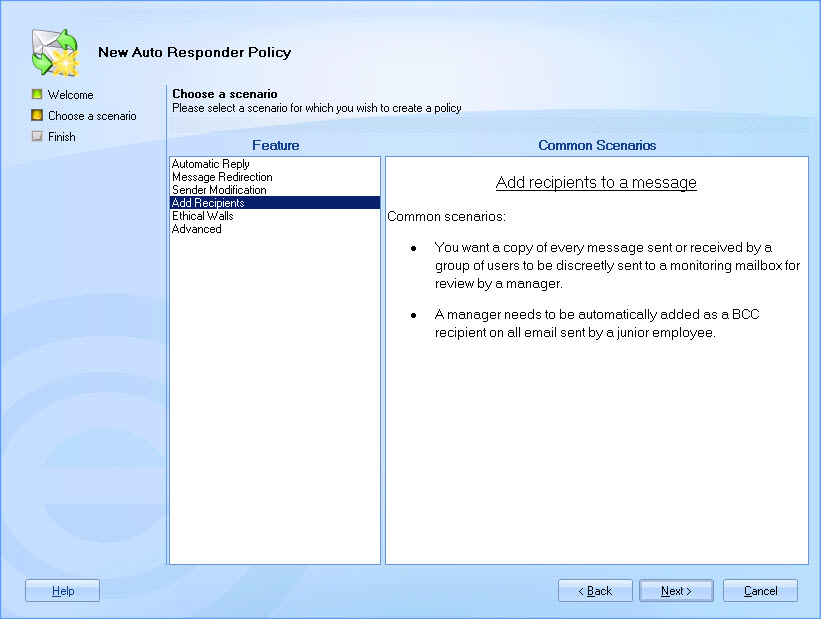
Click next to choose a scenario:

Here, available scenarios (policy types) are listed - if you are not sure what type of policy best suits your needs, you can select a scenario from the feature list and view summary information for each one.
If you started by choosing to create a specific scenario (via the actions pane), the choose a scenario page is not displayed - go straight to step 5.
-
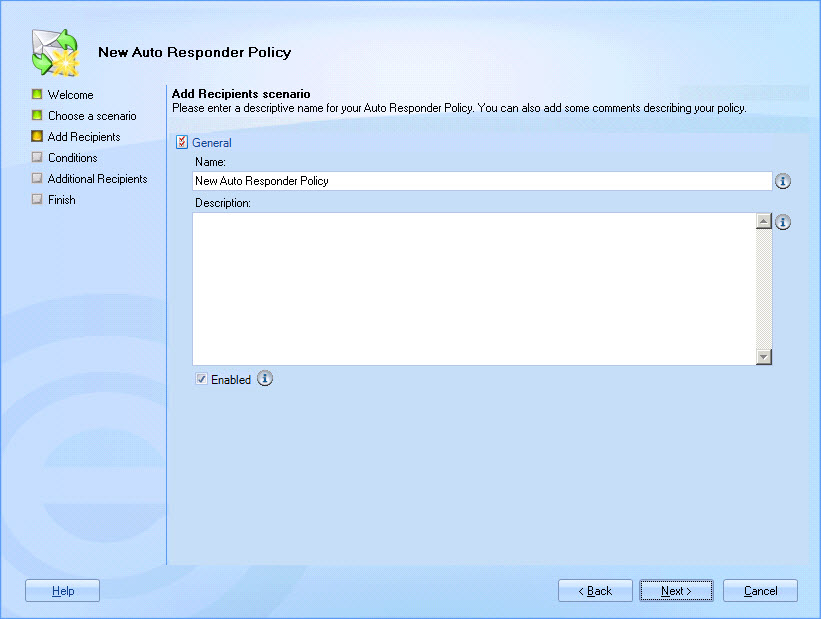
Select the add recipients scenario and click next to enter general information for the new policy:

-
Enter a meaningful name and description for the policy. For further information about this tab see the anatomy of a policy - general page of this help.
-
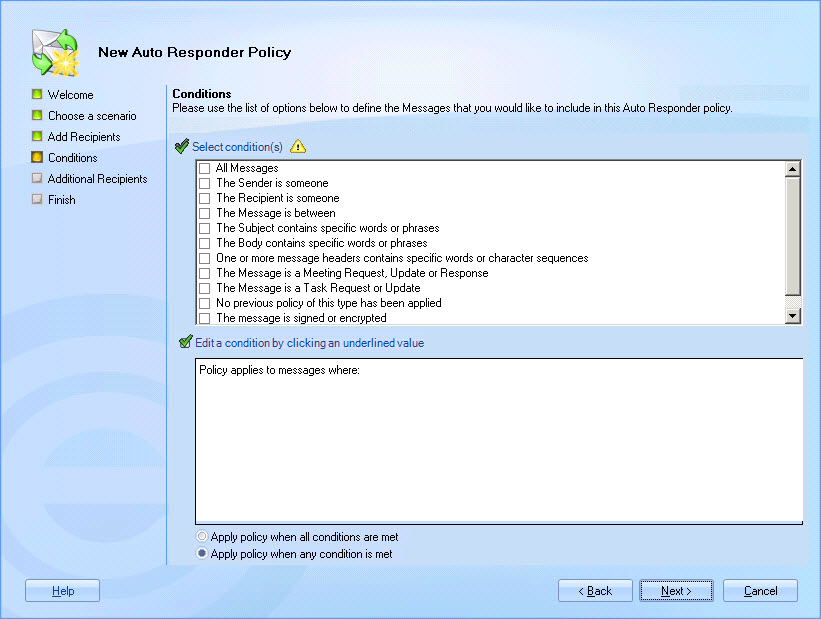
Click next to view conditions:

-
Set criteria to determine the circumstances under which the policy is applied and recipients are added. Having created the policy, you can update the conditions at any time, and also add exceptions. For further information about these options see the anatomy of a policy - conditions page of this help.
-
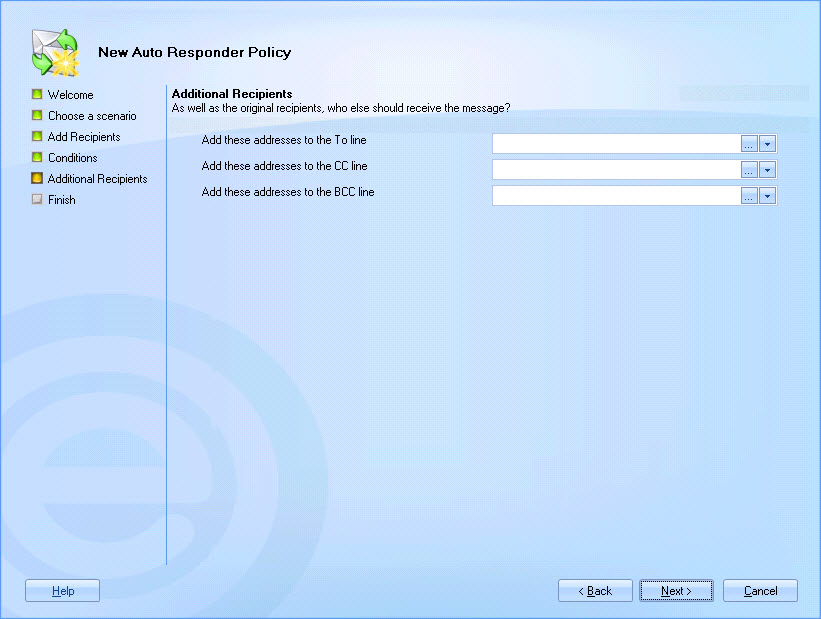
Click next to access additional recipients options:

Here, you can specify email addresses to be added as recipients in to, CC and BCC fields. When choosing to add addresses you can type a valid email address directly into the associated field, use the browse button to browse the Active Directory to select a user account or distribution group, or use the arrow to select an Active Directory field from a drop-down list - any fields that are associated with email message and message sender details are available for selection. For further information about these options see the anatomy of a policy - auto response page of this help.
-
Click next to confirm your selections and access the final page of the wizard.
-
Click finish to complete the process and add the new policy to the policies list.
You must click the save button at the top of the Exclaimer console to save changes in Auto Responder. If you do not save changes (or if you use the cancel button) the new policy will not be retained when you exit from Auto Responder.


