Conditional field example 1
This example shows a conditional field being used to apply a departmental message within signature content. This information needs to be customised for users within two specific departments, with generic details for everyone else. The scenario for this example is illustrated below:
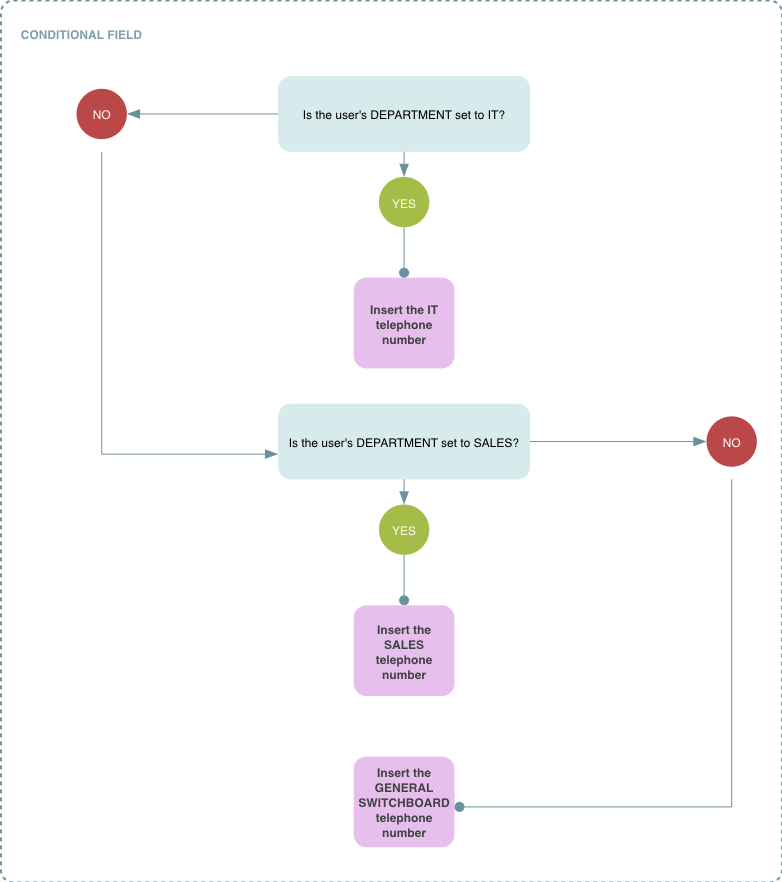
To achieve this scenario using Exclaimer Signature Manager Office 365 Edition, follow the steps below:
-
Edit or create the required template so that the template editor is open.
-
Position your cursor at the position where conditional content is required.
-
Using the fields panel, insert a conditional field (listed in the advanced section). The conditional field window is displayed:

-
Click the add button to enter the first condition (i.e. to add content and associated rules for the IT department). The add condition window is displayed:

-
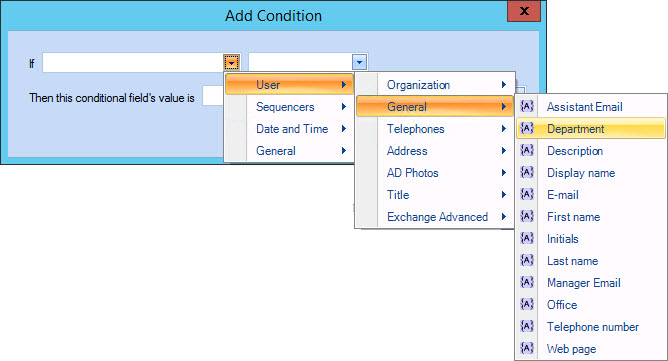
Using the drop-down lists associated with the if field, navigate to select user > general > department:
-
Leave the qualifier as the default is equal to and type IT into the associated value field:

-
Click the [...] button associated with the then this conditional field's value is field to open the expandable field editor window. Use this window to enter content to be inserted if the associated condition is met (i.e. for messages sent by the IT department). You can enter text and/or fields as required:
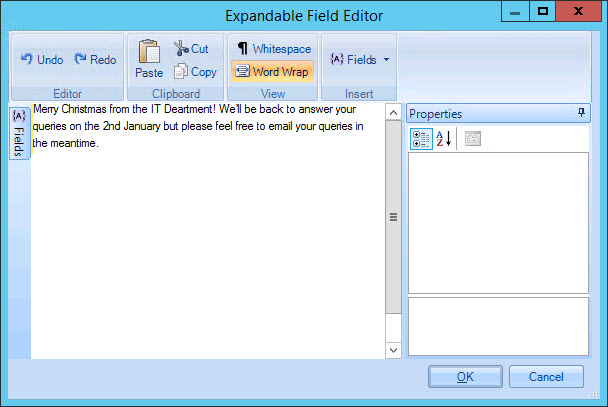
Any text entered here will inherit font and other formatting properties which are applied to the conditional field element as a whole. See step 19 for details about changing these properties.
-
Click OK to save changes and exit back to the add condition window, where your first condition is now displayed:

-
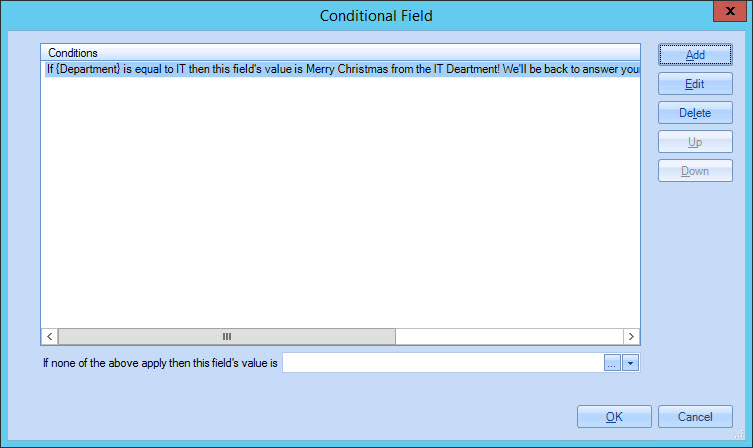
Click OK to exit back to the conditional field window:
-
Click the add button to enter the second condition (i.e. to add content and associated rules for the Sales department). The add condition window is displayed:

-
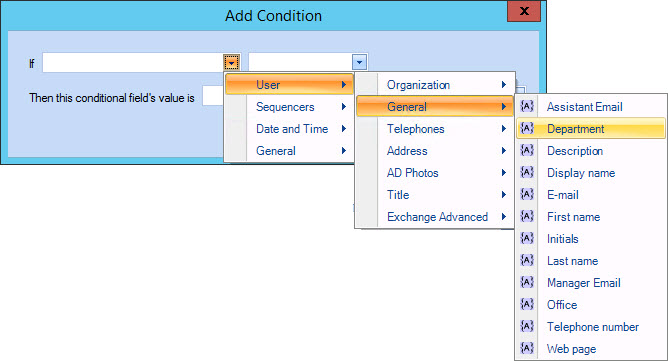
Using the drop-down lists associated with the if field, navigate to select message sender > organization > department field:
-
Leave the qualifier as the default is equal to and type Sales into the associated value field:

-
Click the [...] button associated with the then this conditional field's value is field to open the expandable field editor window. Use this window to enter content to be inserted if the associated condition is met (i.e. for messages sent by the Sales department). You can enter text and/or fields as required:
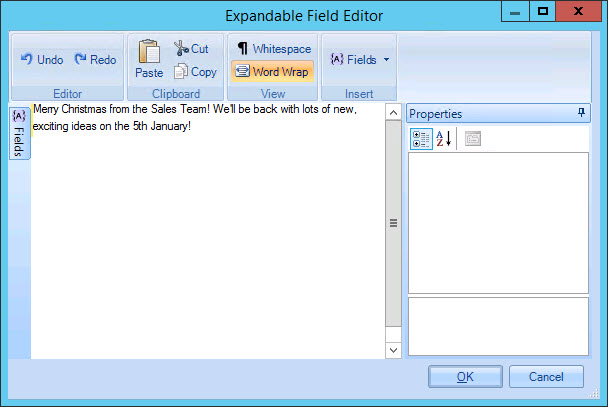
Any text entered here will inherit font and other formatting properties which are applied to the conditional field element as a whole. See step 19 for details about changing these properties.
-
Click OK to save changes and exit back to the add condition window, where your second condition is now displayed:

-
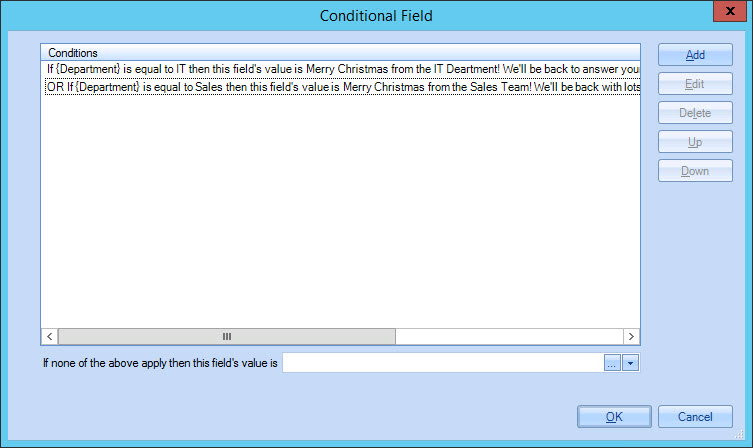
Click OK to exit back to the conditional field window where both conditions are now displayed:
-
To define content that should be applied for everyone else (i.e. people who are not in either the IT or Sales departments), move to the bottom of this window and click the [...] button associated with the if none of the above apply then this field's value is field. The expandable field editor window is displayed.
-
Use this window to enter content to be used if neither of the specified conditions are met (i.e. for messages sent by non IT/Sales users). You can enter text and/or fields as required:
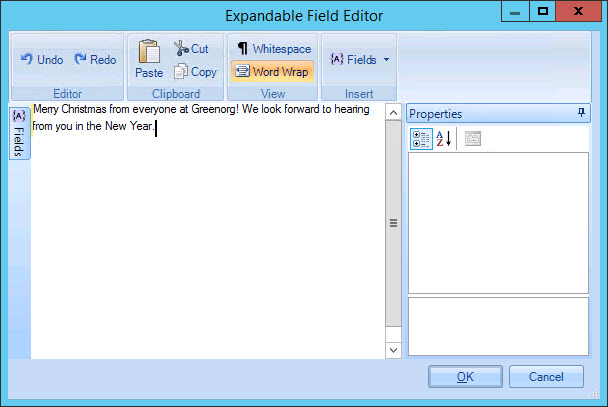
Any text entered here will inherit font and other formatting properties which are applied to the conditional field element as a whole. See step 19 for details about changing these properties.
-
Click OK to save changes and exit back to the conditional field window:
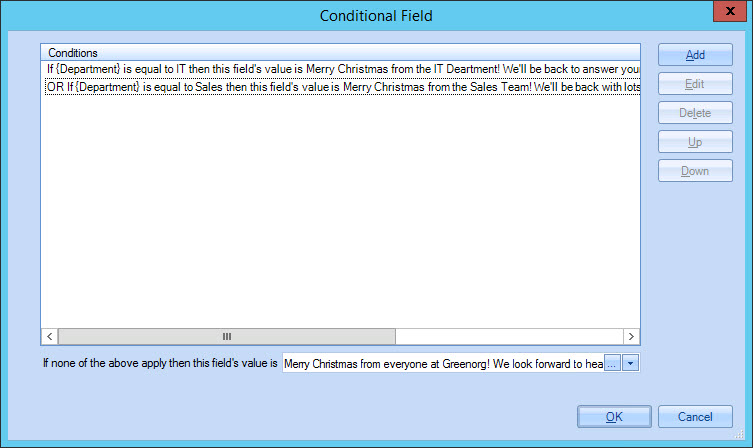
Settings for the conditional field are now complete, with two conditions (one for IT users and one for Sales users) and then required content for everyone else. -
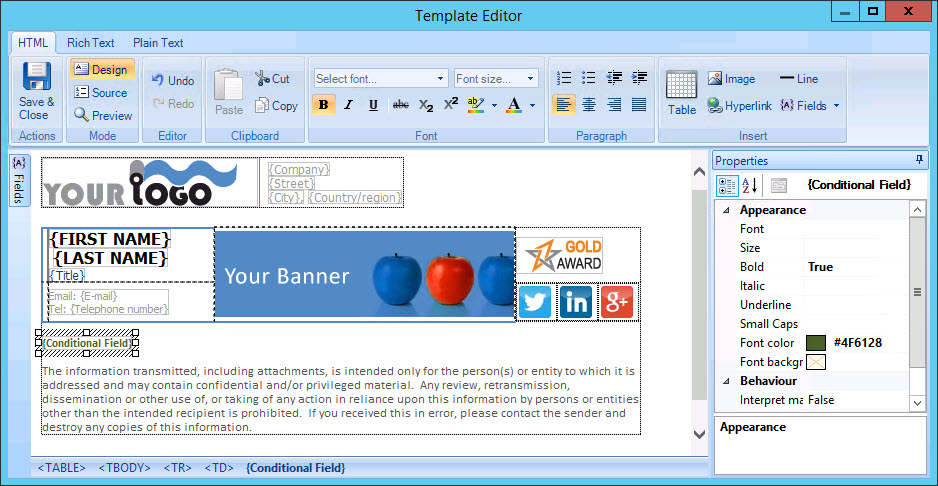
Click OK to exit back to the template editor, where the conditional field is now shown. Select this field and use appearance settings in the properties pane (on the right-hand side of the template editor) to apply required formatting. Any properties specified here will be applied to the associated conditional content when it is used:
-
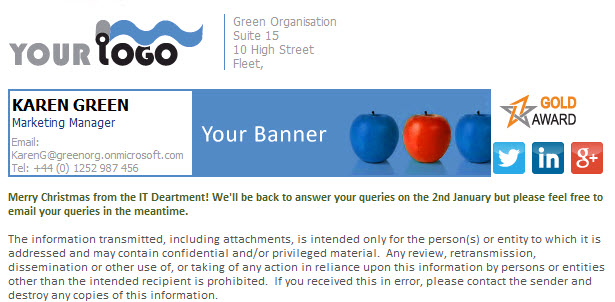
In preview mode for an IT user, this example is displayed as follows (notice that the text has the same font settings as those defined for the conditional field element above):
-
Save the template in the normal way. The template can now be associated with a policy where the only condition required is all messages (although you can apply further conditions at policy level, if necessary).
Using nested conditional fields (i.e. adding one conditional field within another conditional field) can be a particularly powerful approach for advanced users who need to create complex templates to cater for a wide range of scenarios within an organization. For further information, please refer to the conditional field example 3 (advanced) topic.


