Adding a New Journal Mailbox Importer
To add a new journal mailbox importer, follow the steps below:
-
Select the journal mailbox importers branch of the console tree. All existing journal mailbox importers are displayed in the importers tab.
-
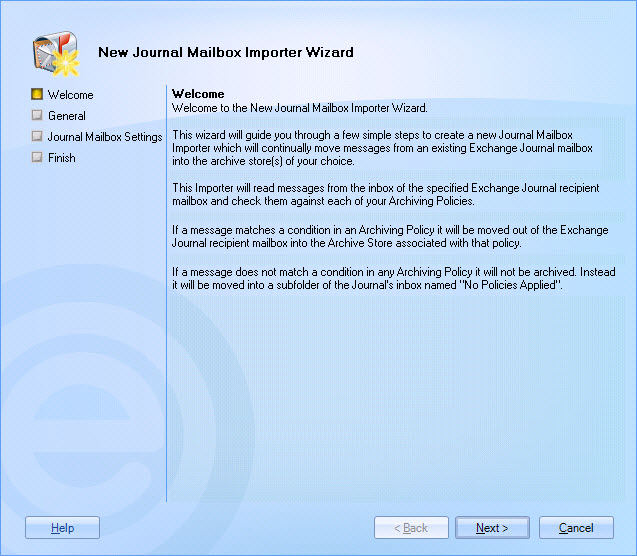
Select the new option from the toolbar to launch the journal mailbox importer wizard at the welcome page:

Alternatively, you can select the new journal mailbox importer... option from the actions pane to launch the new journal mailbox importer wizard.
-
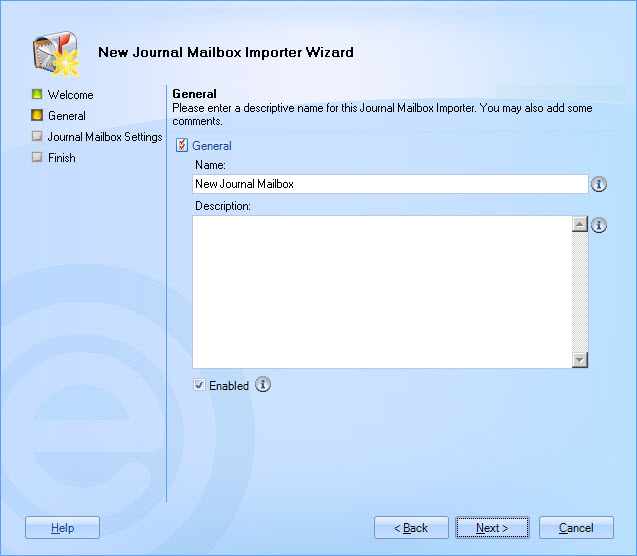
Click next to access general details for the new importer:

-
Enter the required name for the importer (the name entered here is displayed throughout the system) and, if required, add any comments in the description field.
-
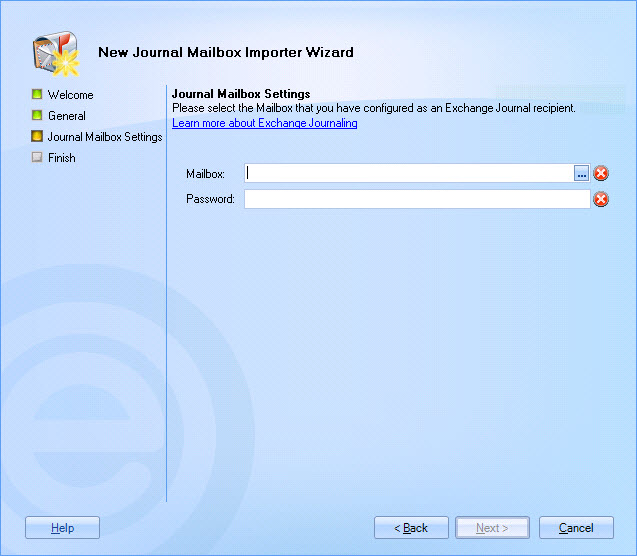
Click next to access settings for the importer. Here, the name of the required Exchange journal mailbox is required, together with the associated password:

An Exchange journal mailbox can only be used once. If you have already defined a journal mailbox importer with an Exchange journal mailbox, you must remove that journal mailbox importer first.
-
Enter the required Exchange journal mailbox name and password, then click next to complete the wizard:

-
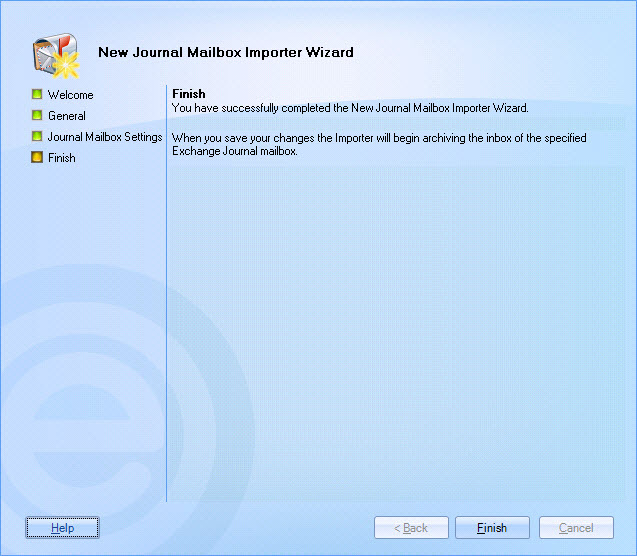
Click finish to exit back to the Exclaimer console. The new journal mailbox importer is added to the console tree and will start processing messages as soon as changes are saved.
-
Click save at the top of the console window to save changes.


