The installation wizard
To install Exclaimer Auto Responder, follow the steps below on each Microsoft Exchange Hub Transport server:
-
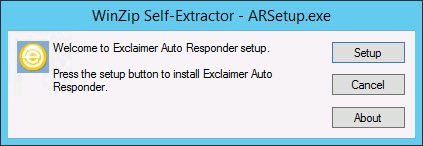
Double click the setup file to start the process and display a welcome message:
-
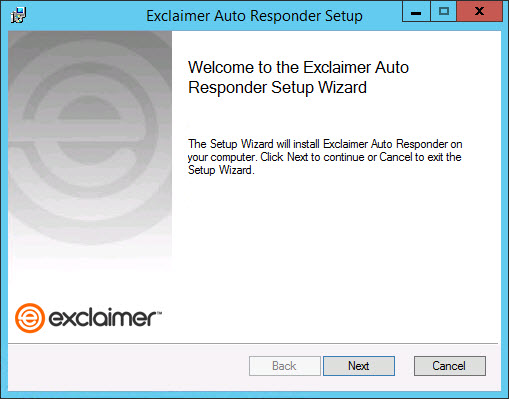
Click setup to launch the setup wizard:
-
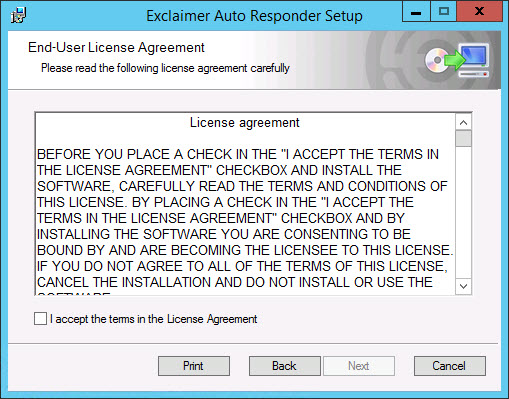
Click next to view the end-user license agreement:
-
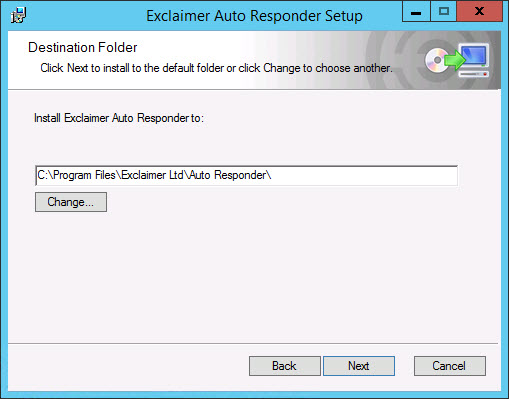
Having read the license agreement, check the I accept the terms in the license agreement box and then click next to select a destination folder for installed files. From here you can accept the default folder, or click change to specify a new location:
-
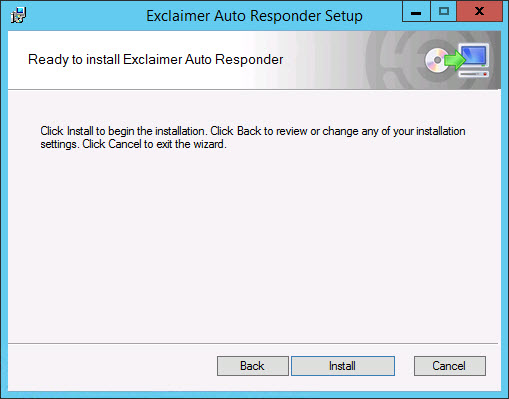
Click next to prepare the installation:
-
Click install to perform the installation:
-
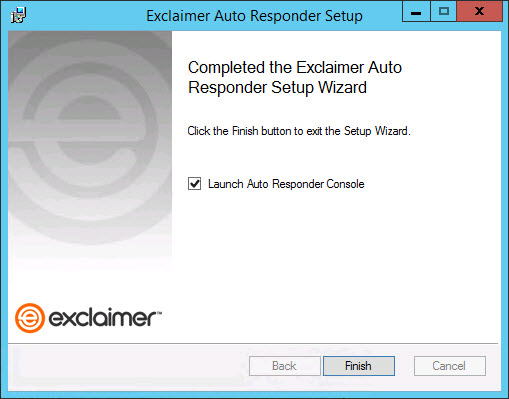
Once files are copied, click finish. The installation is now complete and the configuration wizard is launched so you can confirm basic settings and get started with Exclaimer Auto Responder.


