Smart tables
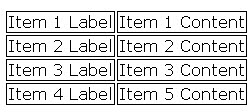
The custom smart tables field can be used to insert a table and specify content / attributes using straightforward data entry fields. This is a quick and easy way to insert a table and include Active Directory fields (or other content) at the same time; the alternative would be to insert a standard HTML table and add fields or other content manually.
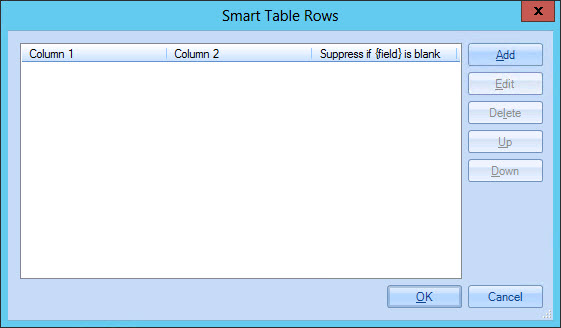
Having selected the custom smart tables field, the smart table rows window is displayed:

By default, a two column table is added. If you need a smart table with more (or fewer) columns you can continue with the setup for two columns and adjust the number of columns after the table is inserted, or you may prefer to cancel this operation and use the table option from the HTML toolbar (since this option allows you to specify the required number of rows and columns at the outset).
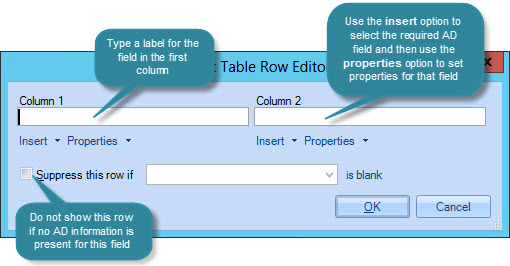
From here, click add to start adding rows to the table. The smart table row editor allows you to define content for each column in the row - you can add text or fields, as required. If you are adding a field, you can choose to suppress this row if no Active Directory information is found for the field when the signature is processed:

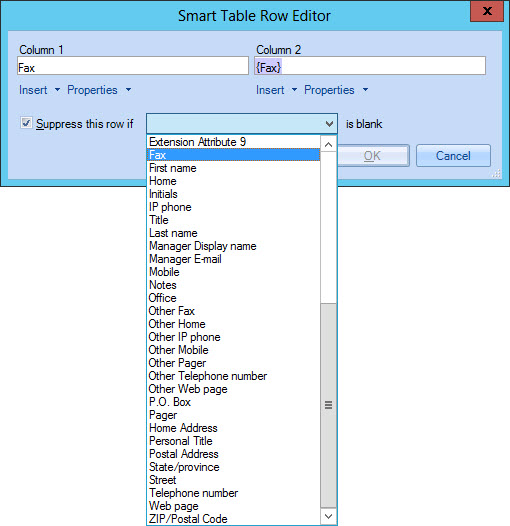
If required, you can choose to not show a table row if no Active Directory information is found for a specified field - for example:

Continue to add as many rows as needed. If required, you can select a row and use up / down options to adjust the sequence. You can also edit and delete existing rows. Once all rows have been added, click OK to insert the table into the template.

Updating an existing smart table
To update an existing smart table in a template, simply select and double-click
the table. Alternatively, select the entire table and expand the misc section in the properties
pane. From here, select the browse -  - button to the right of the rows entry. The
smart table rows window is displayed so you
can add, edit or remove rows as required.


