QR code
The QR code (Quick Response code) field is used to insert special barcode type images which can be scanned by QR scanners and smartphones - for example:

These images contain information comprised of text and/or other fields - for example, you might include contact information, website details, etc. Using Exclaimer Signature Manager Outlook Edition, you can add a QR code and in doing so, specify:
-
The type of QR code that is required (i.e. the type of information to be encapsulated - URL, contact, calendar event, etc.)
-
How the QR code should be displayed (size, sharpness, shape, color and background)
-
Any text, Active Directory fields and hyperlink details to be associated with the QR code
If required, you can also use logo options to display a given logo with the QR code. You can choose to display the logo as a background, in the center of the QR code or in a user defined position.
Adding a QR code to a template
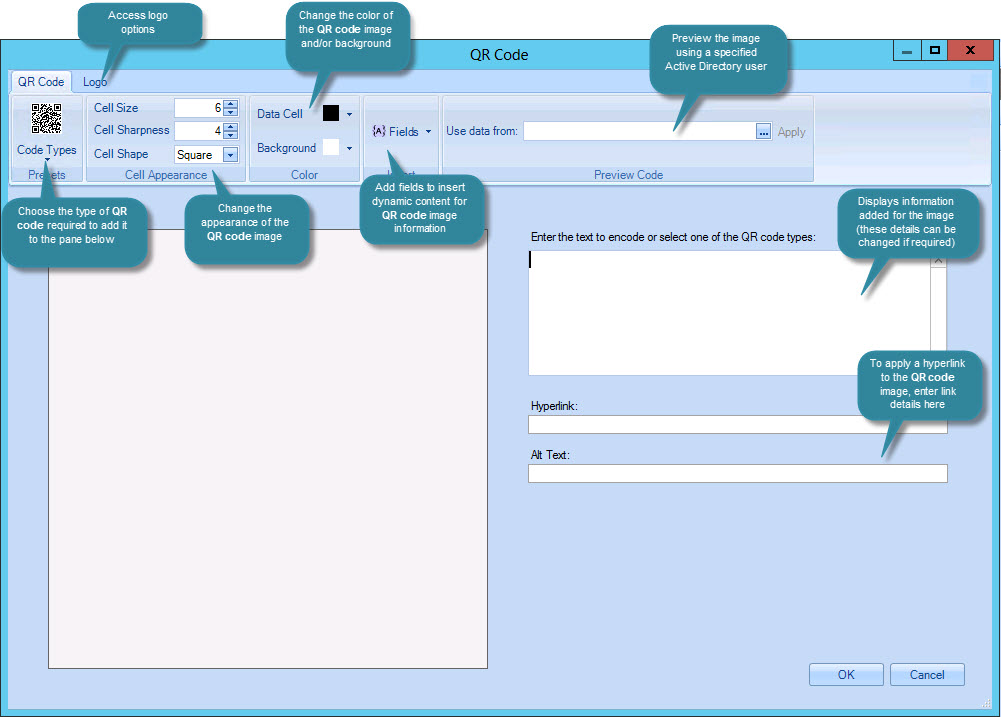
To add a QR code image, use the fields panel to insert a QR code field. When this field is added to a template, the QR code window is displayed:
From here:
-
Use the code type drop-down list to choose the type of QR code image that you wish to create. You can choose one of the following options:
Action
Summary
URL
Displays a URL window - enter the full URL for the website that you wish to include within the image.
Contact Details
Displays a contact details window which is pre-populated with name, telephone, email and address fields from the Active Directory. If required, use arrows associated with each field to make changes.
Calendar Event
Displays a calendar event window so you can add event name, location, time zone and the event start/end times.
Map Location
Displays a map location window so you can enter latitude and longitude coordinates.
Telephone Number
Displays a telephone number window which is pre-populated with the telephone field from the Active Directory. If required, use the arrow associated with this field to make changes.
SMS Text
Displays the SMS text window. Here, enter the required telephone number (if required, use the arrow associated with this field to populate it via an Active Directory field). Then, enter required text for the SMS text message in the field below (you can use the insert button to include Active Directory fields here).
Text messages are limited to 160 characters in length - any content after 160 characters will be truncated.
-
Having selected the code type and entered associated details, the image and any details that you entered are added to the QR code window. From here you can use toolbar options to:
-
Change the size, sharpness and shape of the QR code image
-
Change the color of the image (i.e. the actual composite parts) and/or the image background
-
Click in the information pane (populated with details you have entered so far) and insert Active Directory fields
-
Preview the image using details for a selected user
-
If you would like recipients to be able to click on the QR code image to access a website (or perhaps a mailto link), enter link details using hyperlink and alt text fields.
-
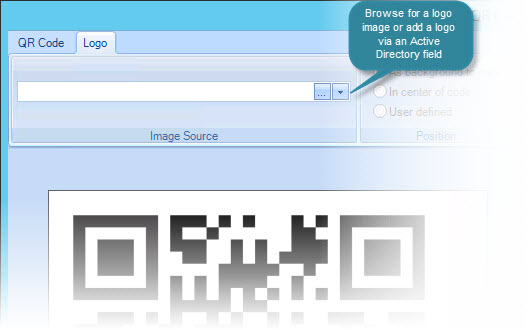
If required, click the logo tab (at the top of the window) to apply a logo to the image. Here, you can browse for the required logo, or use the arrow associated with the logo field to add a logo via an Active Directory field:
-
Click OK to confirm details and add the QR code image to the template.
Certain combinations of images and colors may produce a QR code that is not always readable. We advise customers test the QR code with a smartphone to ensure it works as expected, before releasing it in a signature.
To edit the properties of an existing QR code image in a template, simply double-click the image to access the QR code window.
Changing the size of the QR code
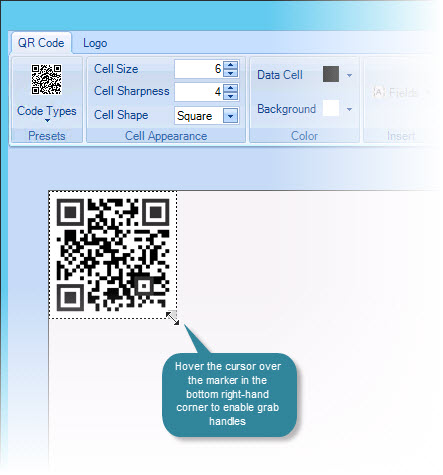
Having defined a QR code in the QR code window, the image can be resized as required. To resize the image, hover your cursor over the marker in the bottom left-hand corner of the image to enable sizing grab handles:
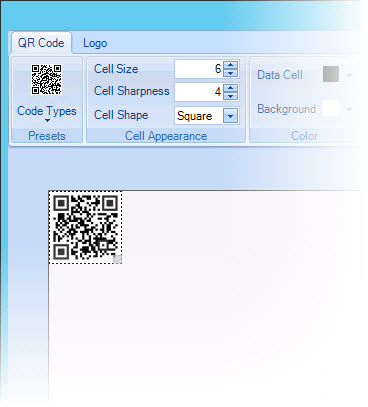
Having done this, you can simply drag the image to the required size:
Adding a logo image
If required, you can choose to associate a logo (or any other image) with a QR code. A logo image can be displayed as a background for the QR code, in the center of the QR code or in a user defined position.
To add a logo image, select the logo tab from the QR code window. Here, the QR code image is displayed (but cannot be adjusted) so you can see how it will look with your selected image:

If you are adding a logo image from a file on your computer or network, select the browse [...] button associated with the image source field to locate and select the required image file.
Alternatively, you can add a logo image via an Active Directory field. To do this, select the arrow associated with the image source field and choose the required field:
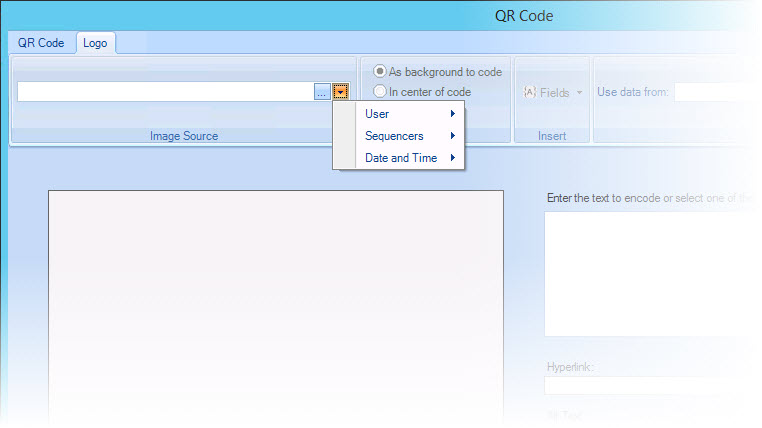
The selected image is displayed with the QR code. By default, it is set as background to the code - if required, use position options to change this.
If the position is set to in center of code, the logo image is positioned in the center of the QR code - for example:

When the position is set to as background to the code or in center of code, the image is automatically scaled for a best fit with the QR code (if you subsequently change the size of the QR code, the logo image is scaled accordingly).
When the position is set to user defined, you can adjust the size and the position of the logo image manually - please see repositioning a QR code and logo manually for further information about this option.
Repositioning a QR code and logo manually
If you have added a logo image and you wish to manually control the position and/or size of that image in relation to the QR code, access the logo tab and set the position to user defined:
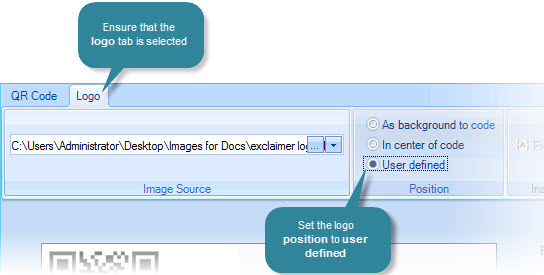
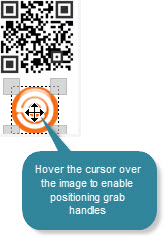
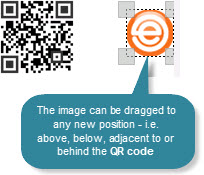
Having done this, the logo is separated from the QR code. To move the logo, hover your cursor over the logo image to enable positioning grab handles and simply drag it to the required position - for example:
|
|
|
|
|
Notice that the logo image is displayed with resizing 'handles' (one in each corner). If required, use these to scale the image up or down. |
When you are repositioning the logo, the QR code image is also displayed so you can easily position the logo in relation to the QR code. However, the QR code cannot be moved or adjusted here.
To adjust the position (and other settings) for the QR code, select the QR code tab. Here you will see the QR code and the logo, but only the QR code can be adjusted. Hover your cursor over the QR code image to enable positioning grab handles - then, simply drag it to the required position.
In summary, although the QR code and the logo image are associated with each other, each of these items can only be adjusted within its respective QR code or logo tab.
|
Keep in mind that you are positioning the logo in relation to the QR code (or vice versa) - you are not specifying where these items are positioned within the template. Once the QR code and any associated logo are confirmed (and the QR code window is closed), their ultimate position and alignment within the template is controlled by any settings and properties associated with the QR code element in the template editor, as with any other field. |
Optimizing the display of QR codes and logos
Each QR code is comprised of cells, as shown below:
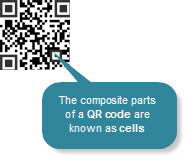
Using cell appearance and color settings for the QR code, you can control the size, sharpness, shape, color and background of these cells:

When a QR code is first added, these settings are automatically defined to display the code with optimal clarity. However, if you are also using a logo image, you may need to adjust these settings to ensure that the logo is displayed clearly.
This is particularly relevant where the position of the logo image is set to as background to the code or user defined. With default cell appearance settings, the logo image is typically obscured by the QR code however, reducing the cell size and cell sharpness will increase transparency, making the logo image clearer. You may also find that adjusting the cell shape and color settings for the QR code also helps with the clarity of a logo image.


