The anatomy of an Outlook policy - date range
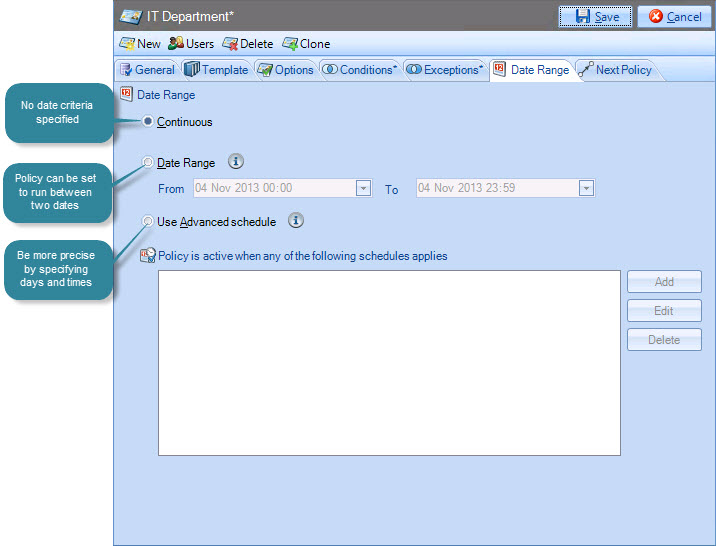
Options on the date range tab are used to set any date / time limitations for an Outlook policy:

By default, the date range tab is set to continuous, which means that there are no date or time restrictions associated with the Outlook policy. Alternatively, specific to and from dates can be set so that the policy has a start/end time, or a detailed schedule can be set.
Using the advanced schedule
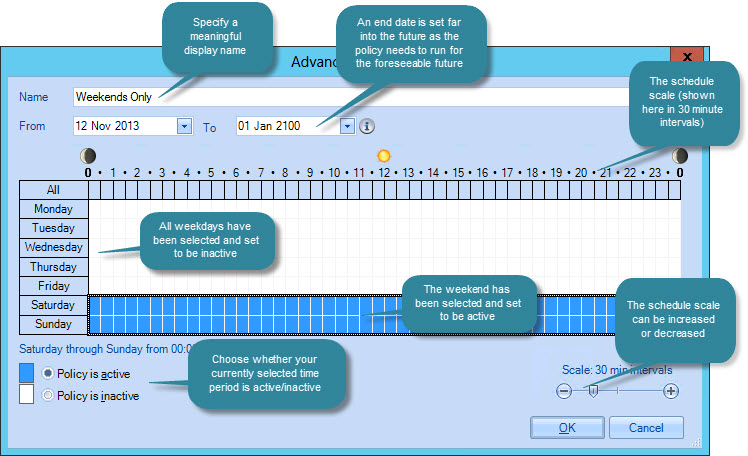
The advanced schedule works by selecting days of the week that the Outlook policy is active or inactive. Each day is split into time intervals, which can be adjusted using a sliding scale at the bottom of the window; this means that Outlook policies can be set to run on precise days at precise times.
To use the advanced schedule, click the use advanced schedule radio button and then click add. The example below shows how the schedule is used to create a policy that is only active at weekends:

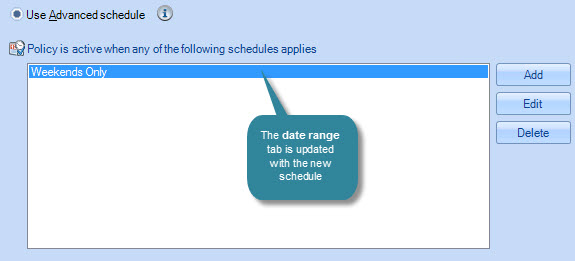
Having made required date and time selections, click OK to exit back to the updated date range tab:

To update an existing schedule, select its name and click edit. Similarly, click delete to remove the selected schedule.
|
Changes are retained if you move to other tabs within the content pane. When you are satisfied that all tabs have been updated correctly, click the save button to save changes across all tabs. Alternatively, use the cancel button to abandon all changes. |


